
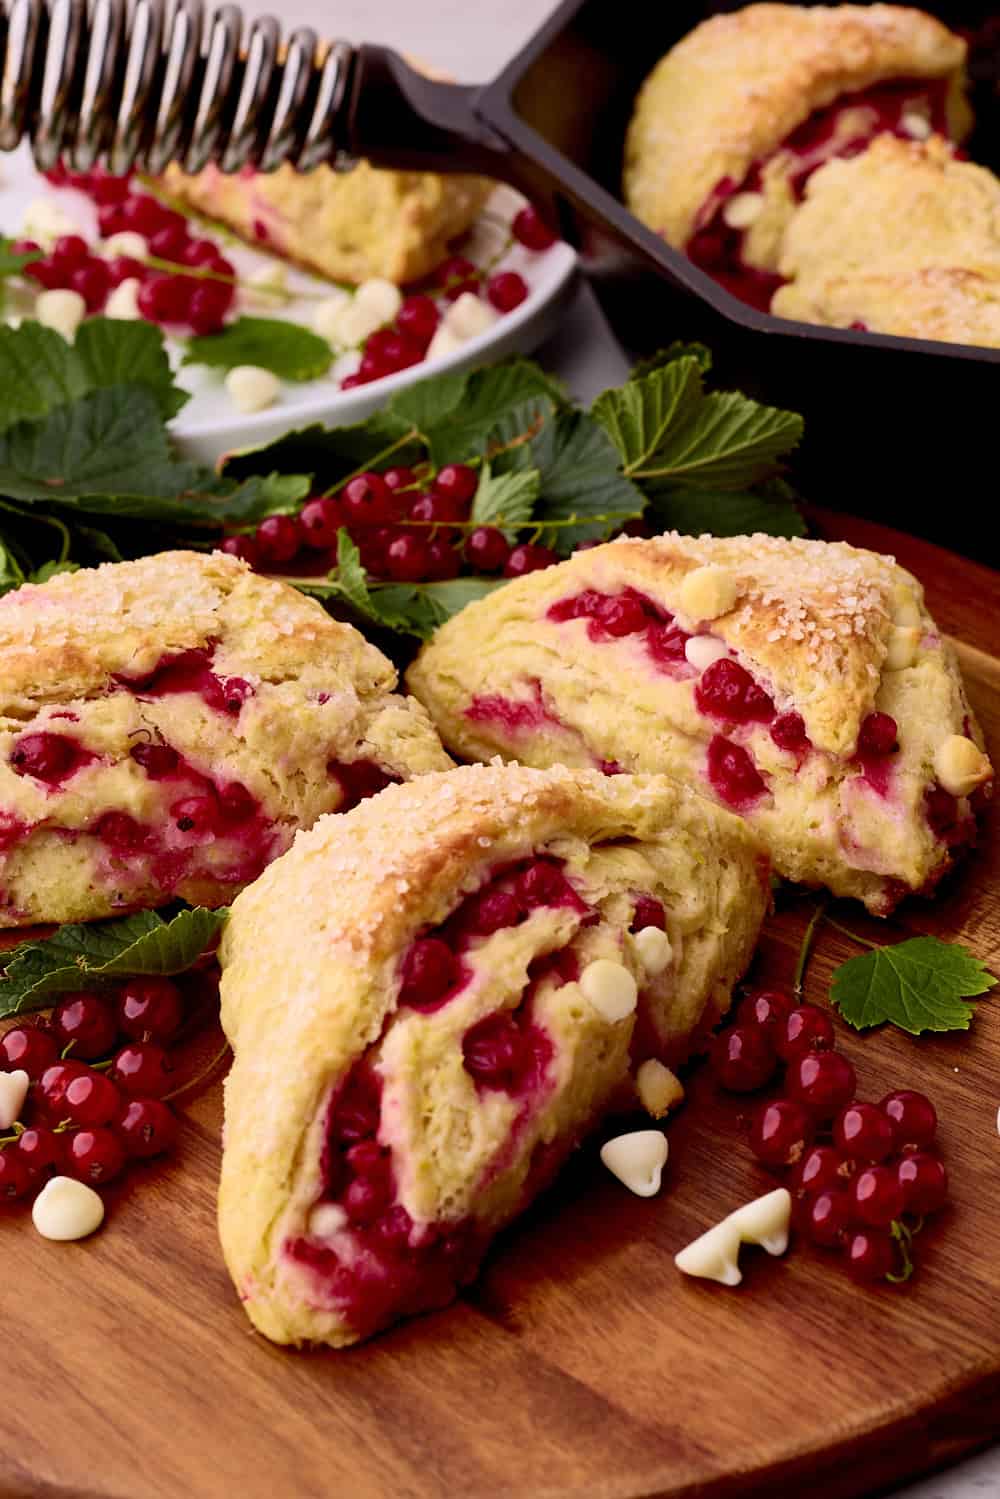
Currants are a beautiful fruit - bright in color, bold in flavor but incredibly tart. My children love picking them from Grandma's garden, but then what do I do with a pail full of tart currants? These Currant Scones are the perfect answer, balancing the bright, tangy berries with fresh lemon zest and the gentle sweetness of white chocolate. Light and fluffy with bursts of tart currants throughout, these scones are the perfect companion to a cup of coffee, a special breakfast treat, or the highlight of brunch.
Why I Love This
- Quick & Easy: I don't like having to wait around all day for my baking and sometimes you just need a dessert now. These Currant Scones come together quickly, have little rest time and are quick in the oven. Best of all they're best eaten fresh!
- Sweet & Tart: While currants can be a tart berry, these scones keep the mood balanced with just the right amount of sweetness to create enjoyment in every bite.
- Freezer Friendly: Scones freeze so well, both before or after baking, making them a great prep ahead dessert that can easily be pulled out at a moments notice.
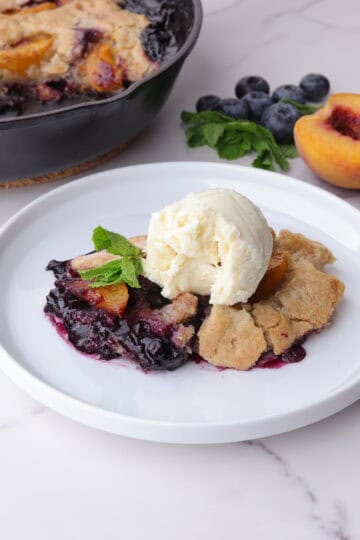
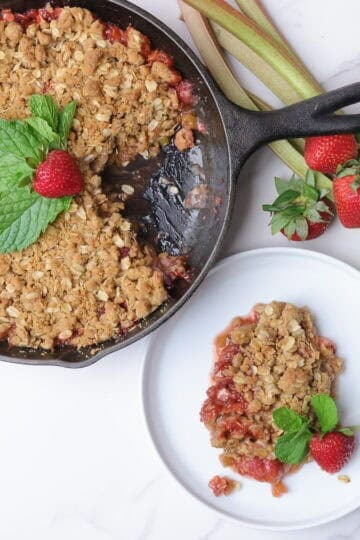
This was inspired by my Cherry Scones, another delightful summer treat. For a fruitier vibe try my Peach and Rhubarb Crisp or my Peach and Blueberry Cobbler for more delicious desserts.
Jump to:
Ingredients
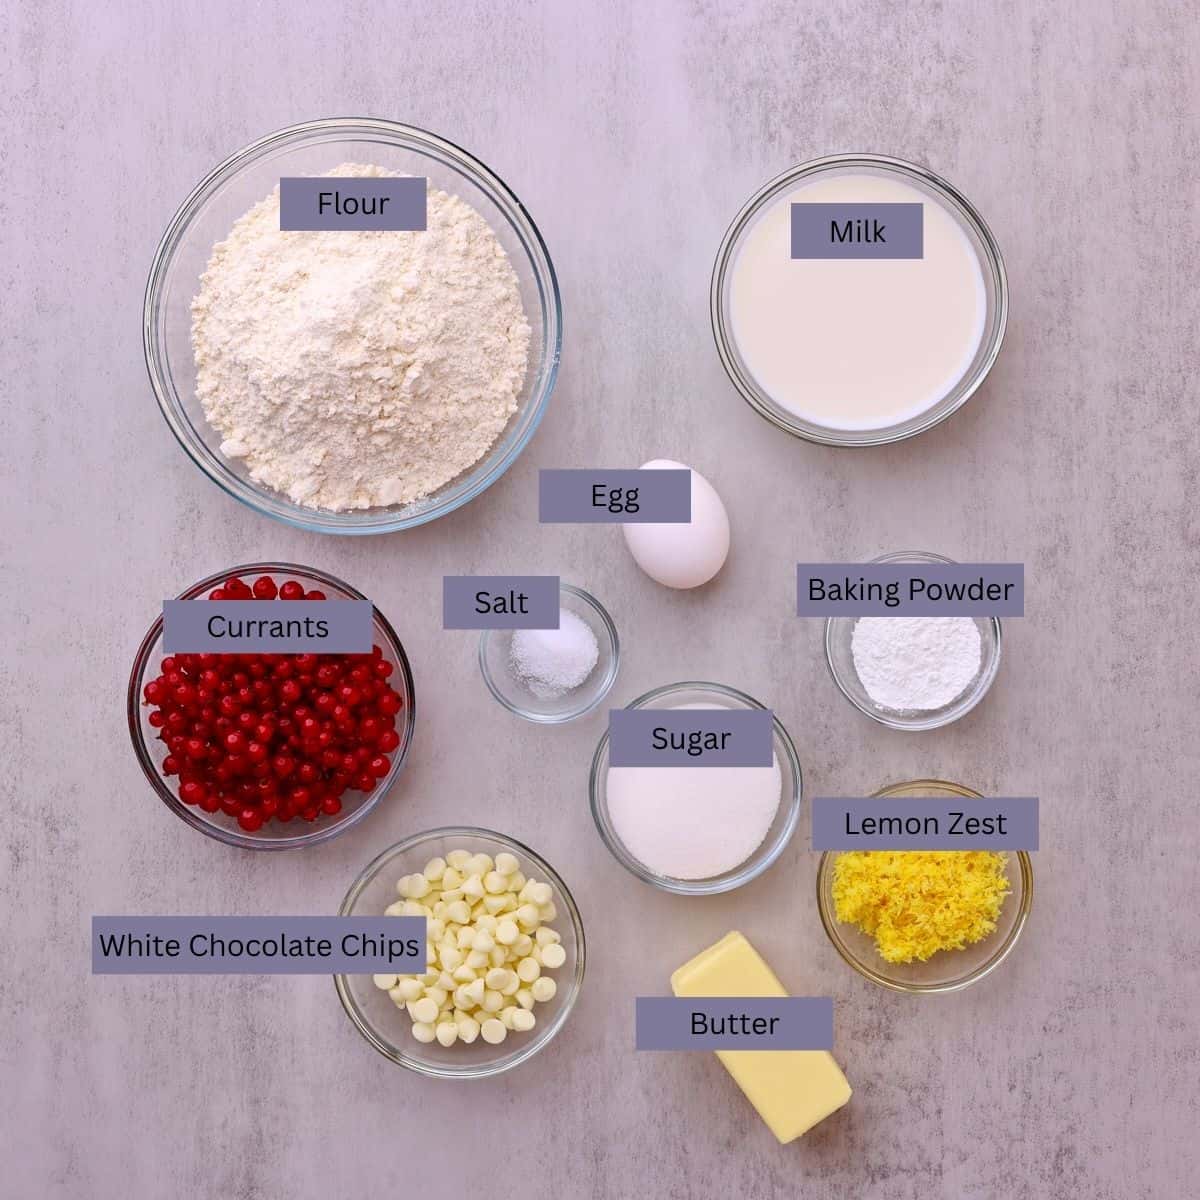
- All Purpose Flour - this is of course the base of the scones. You can also use a gluten free 1-to-1 substitute if needed.
- Butter - I prefer to use unsalted butter and it's an absolute MUST that the butter is cold! This is essential for creating that tender, light scone.
- Lemon Zest - the brightness of the zest pairs so perfectly with the tart currants and really enhances the flavors. I recommend fresh lemon zest but dried lemon peel can work in a pinch.
- Sugar - I like to keep the amount of sugar in the scone dough fairly low to allow the fillings to really shine and be the star of the show.
- Cream - half and half cream seems to be the perfect amount of fat to make these scones delightfully tender. You can use a fat free or lower fat milk but the texture will change slightly. Dairy- free alternatives are listed below in the "Substitutions" section.
See recipe card for quantities.
Instructions
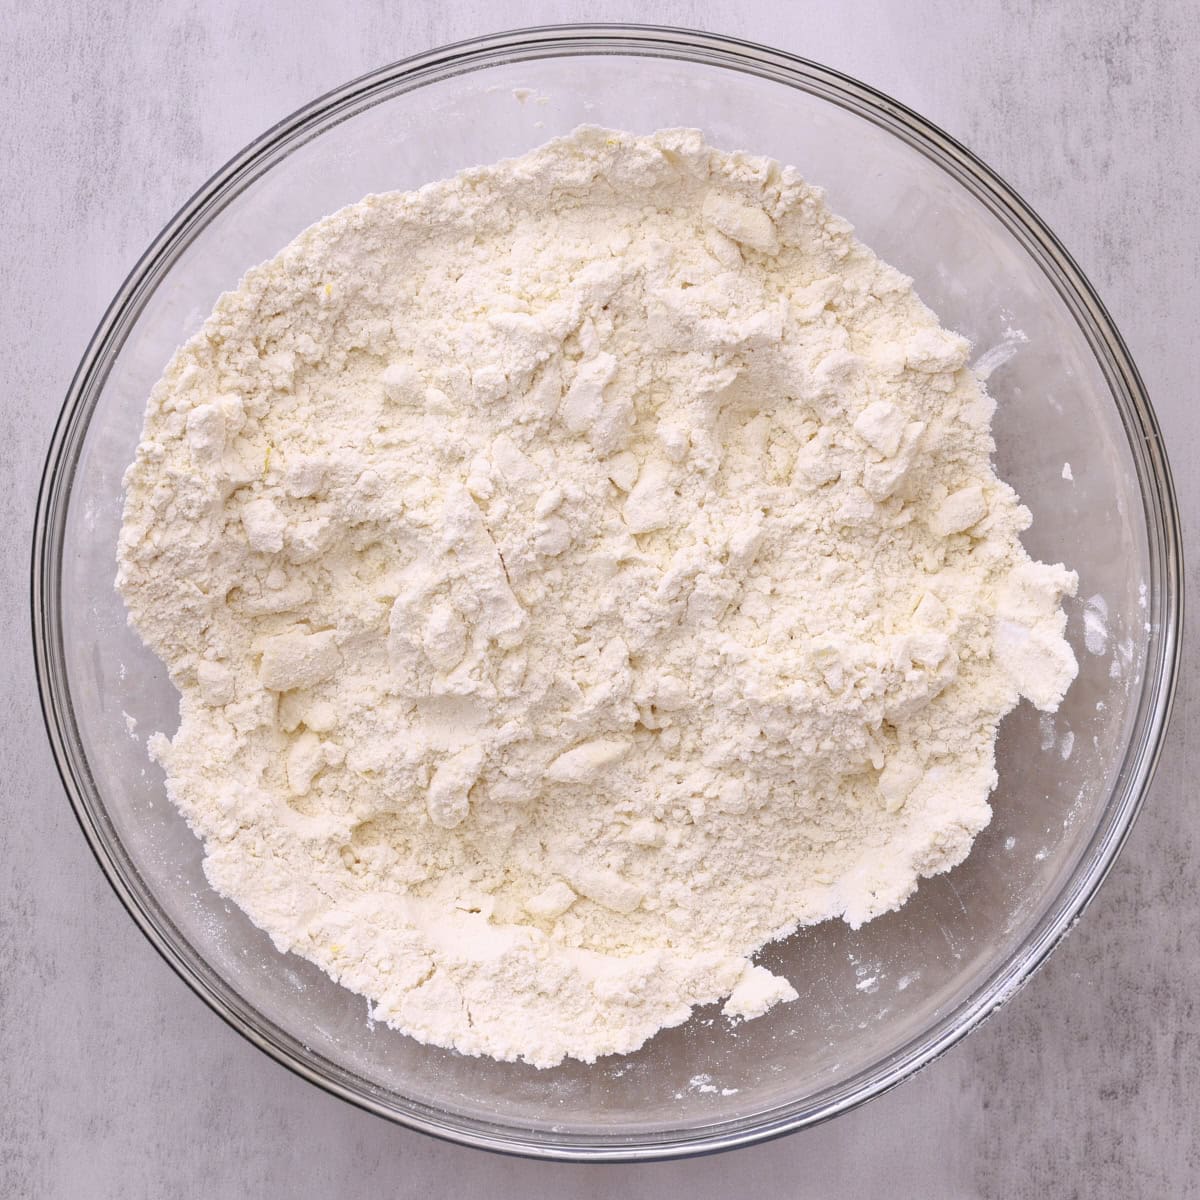
Step 1: In a large bowl, combine the dry ingredients, including the lemon zest. Cut in the cold butter using a pastry cutter or your hands, leaving small chunks of butter throughout the mixture.
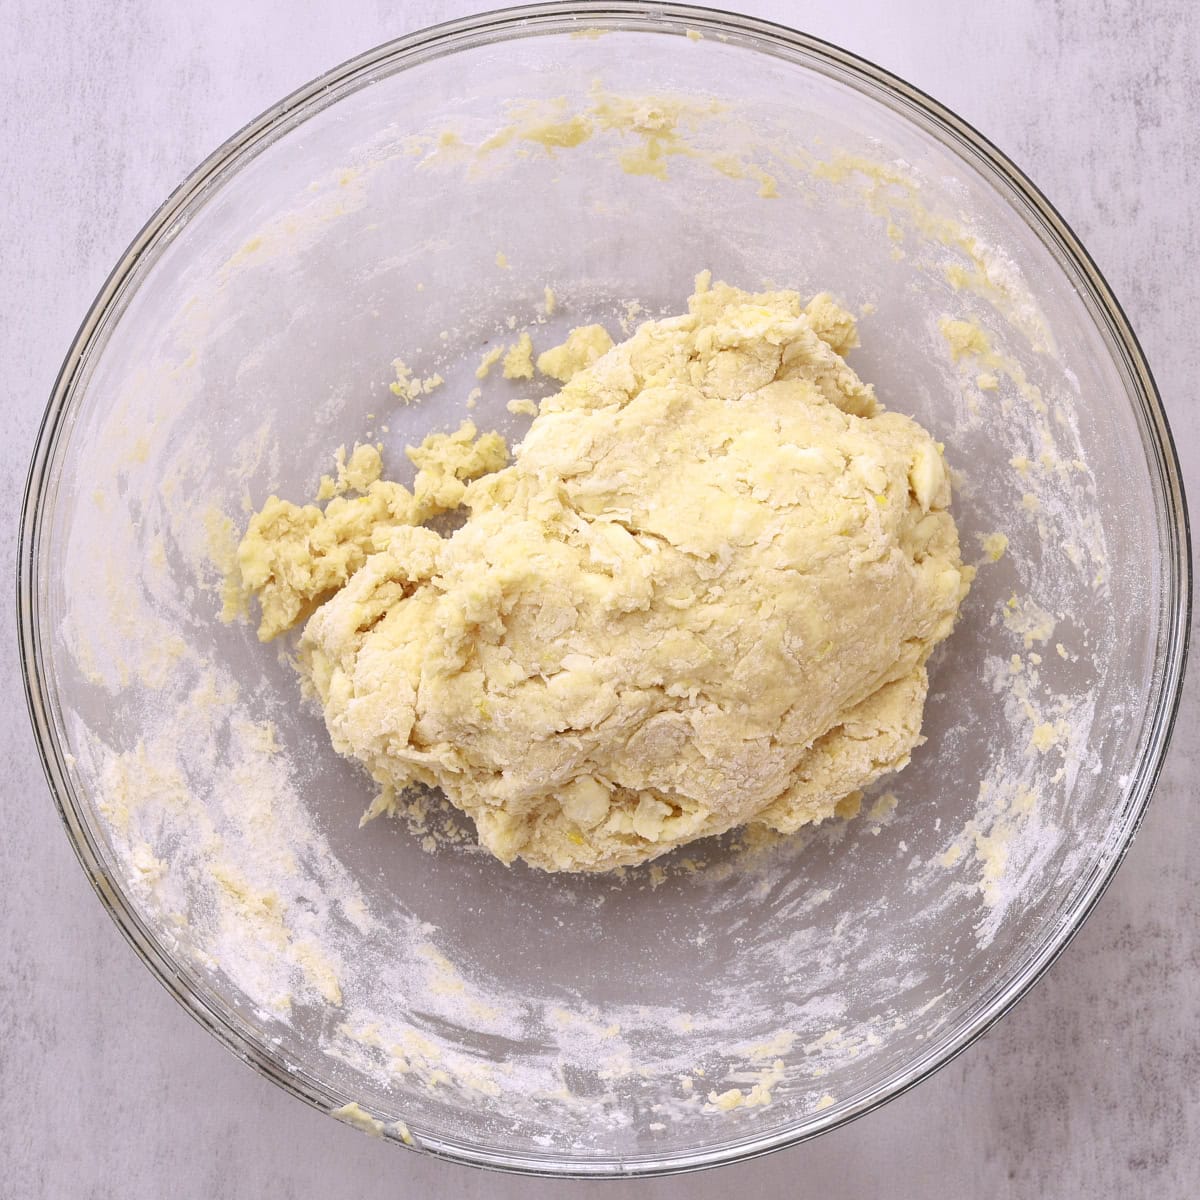
Step 2: In a separate bowl, whisk together the egg and milk. Pour the wet ingredients into the dry ingredients and gently stir until a shaggy dough forms (I like to use my hands for this). Do not over-mix.
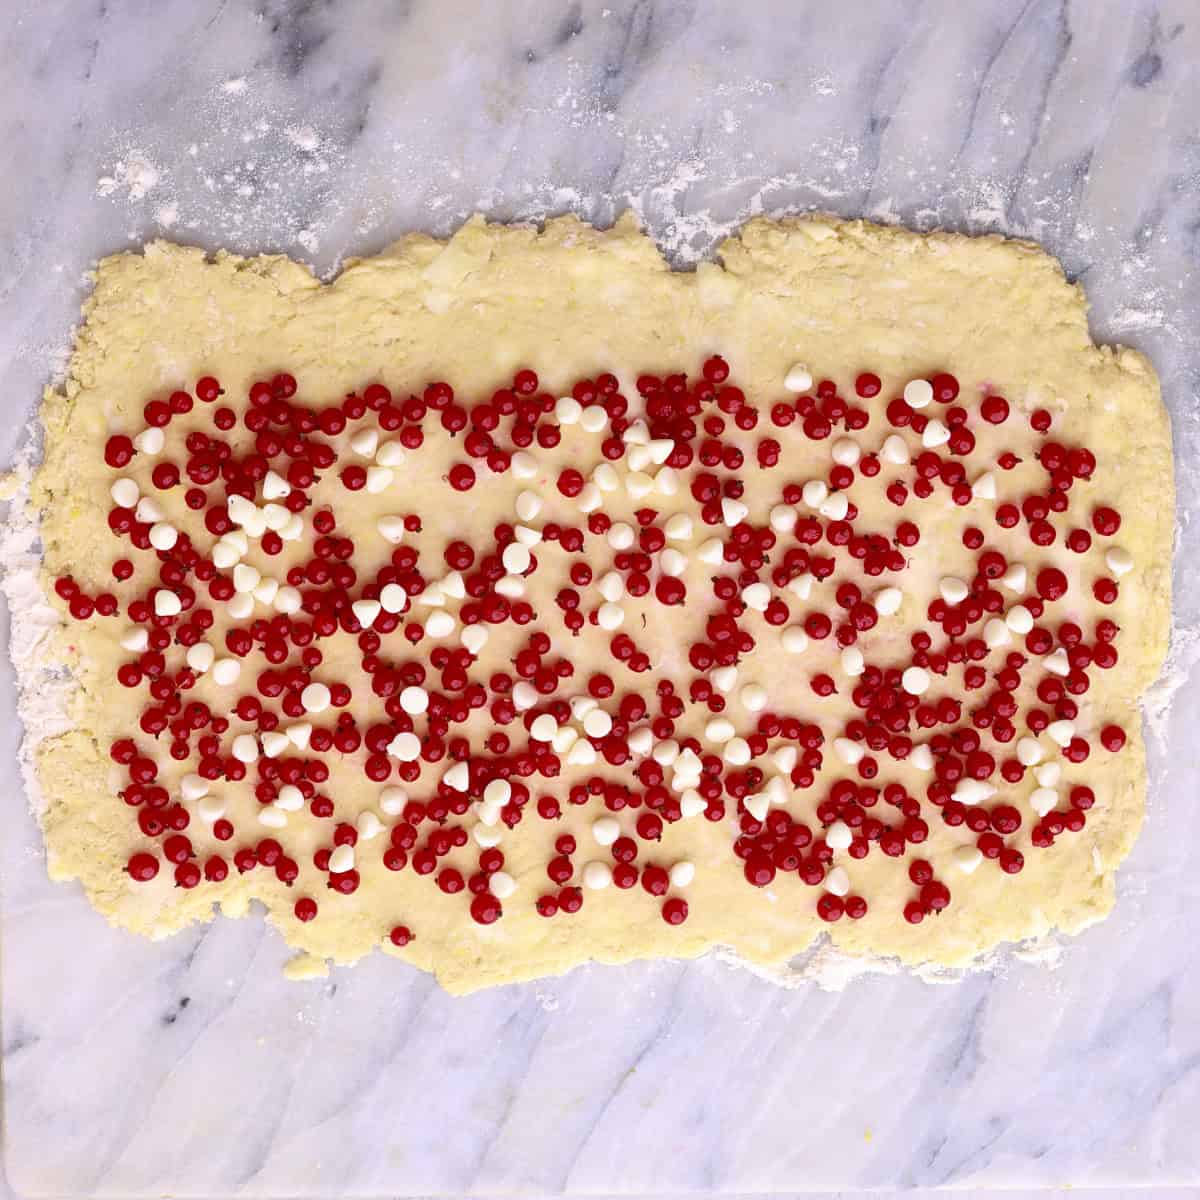
Step 3: Roll the dough into a 10x15 inch rectangle on a generously floured surface. Sprinkle the dough evenly with the berries and chocolate chips, leaving the top inch of the rectangle bare.
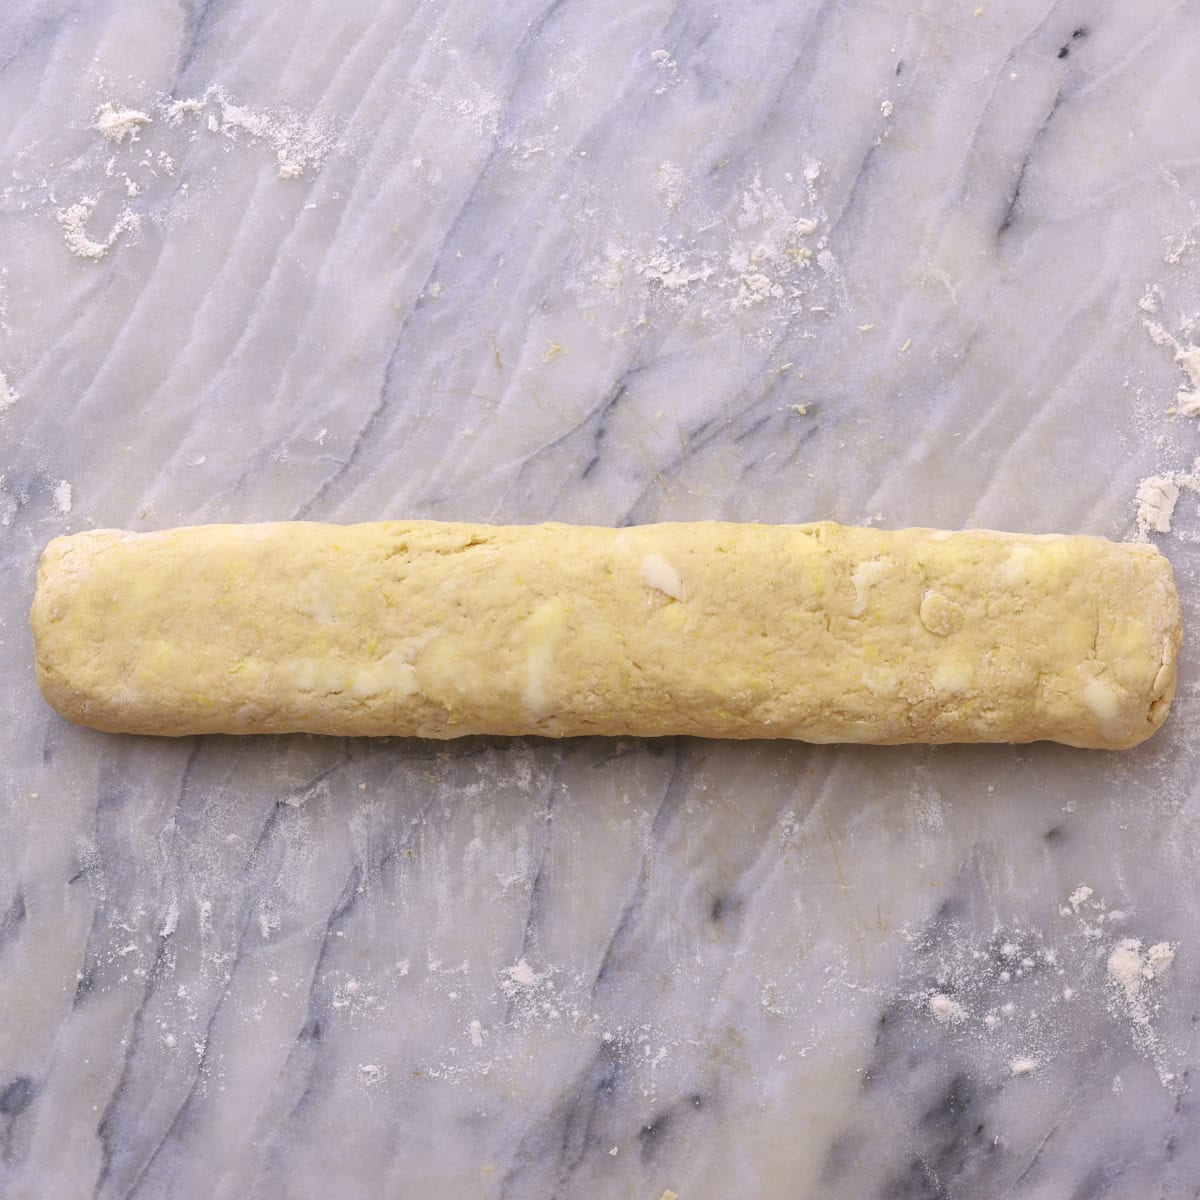
Step 4: Roll the rectangle up like a cinnamon roll, using a scraper to loosen any dough that sticks to the counter. Roll as tightly as possible. Pinch the seam and ends together to seal, then gently shape the roll into a long rectangle by flattening the top and sides.
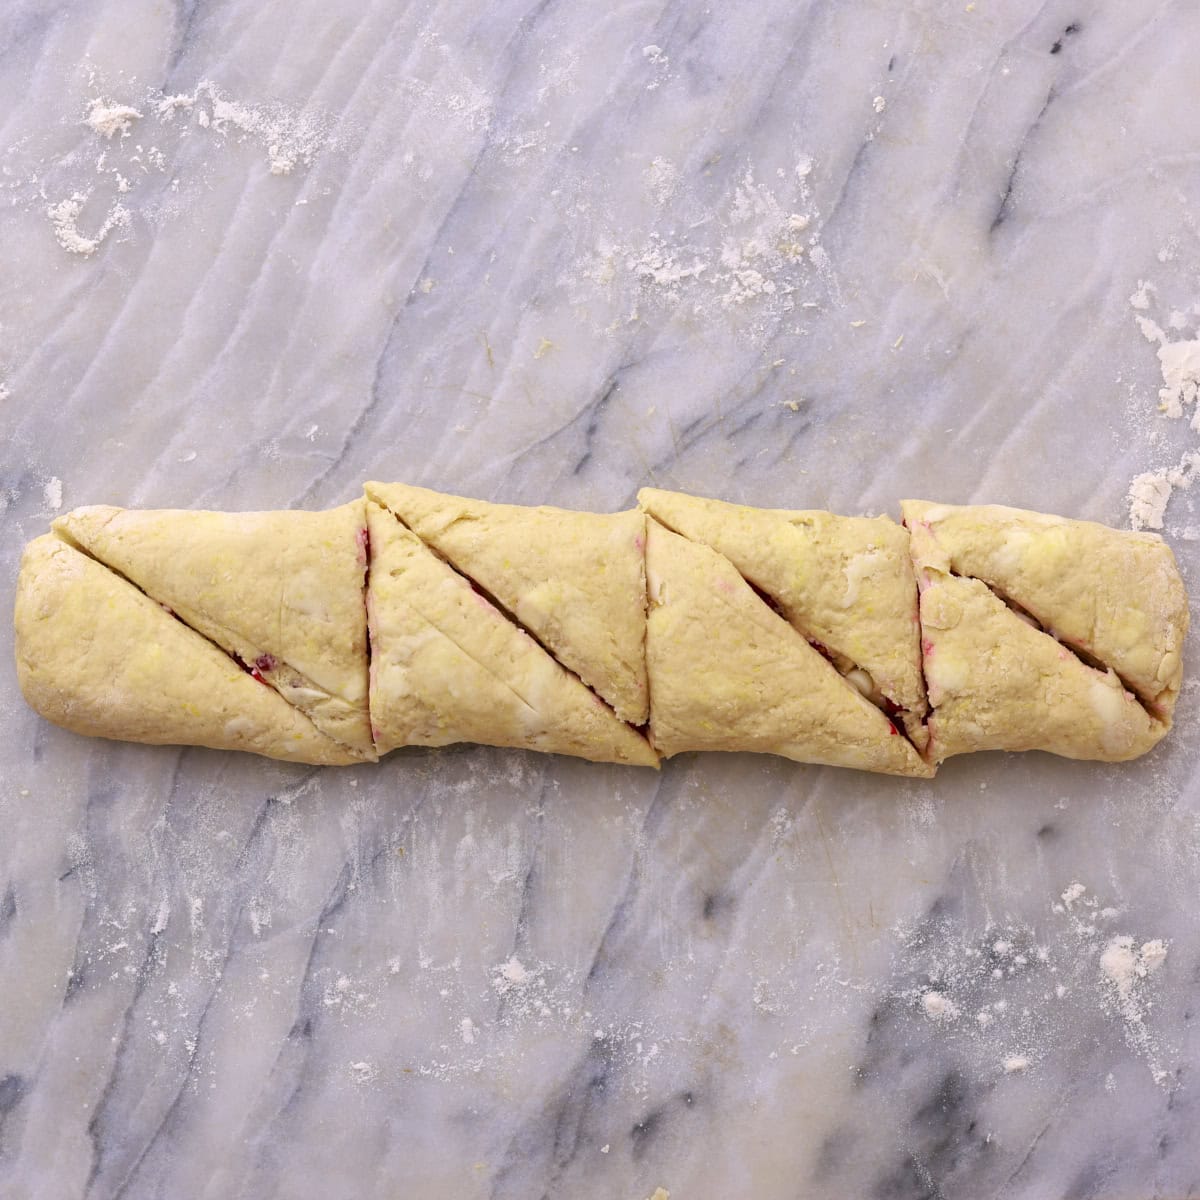
Step 5: Using a sharp knife or bench scraper, first divide the dough into 4 equal sections by making 3 straight cuts across the log. Then cut each section diagonally at a 45-degree angle to create 2 triangles. You will have 8 scones total.
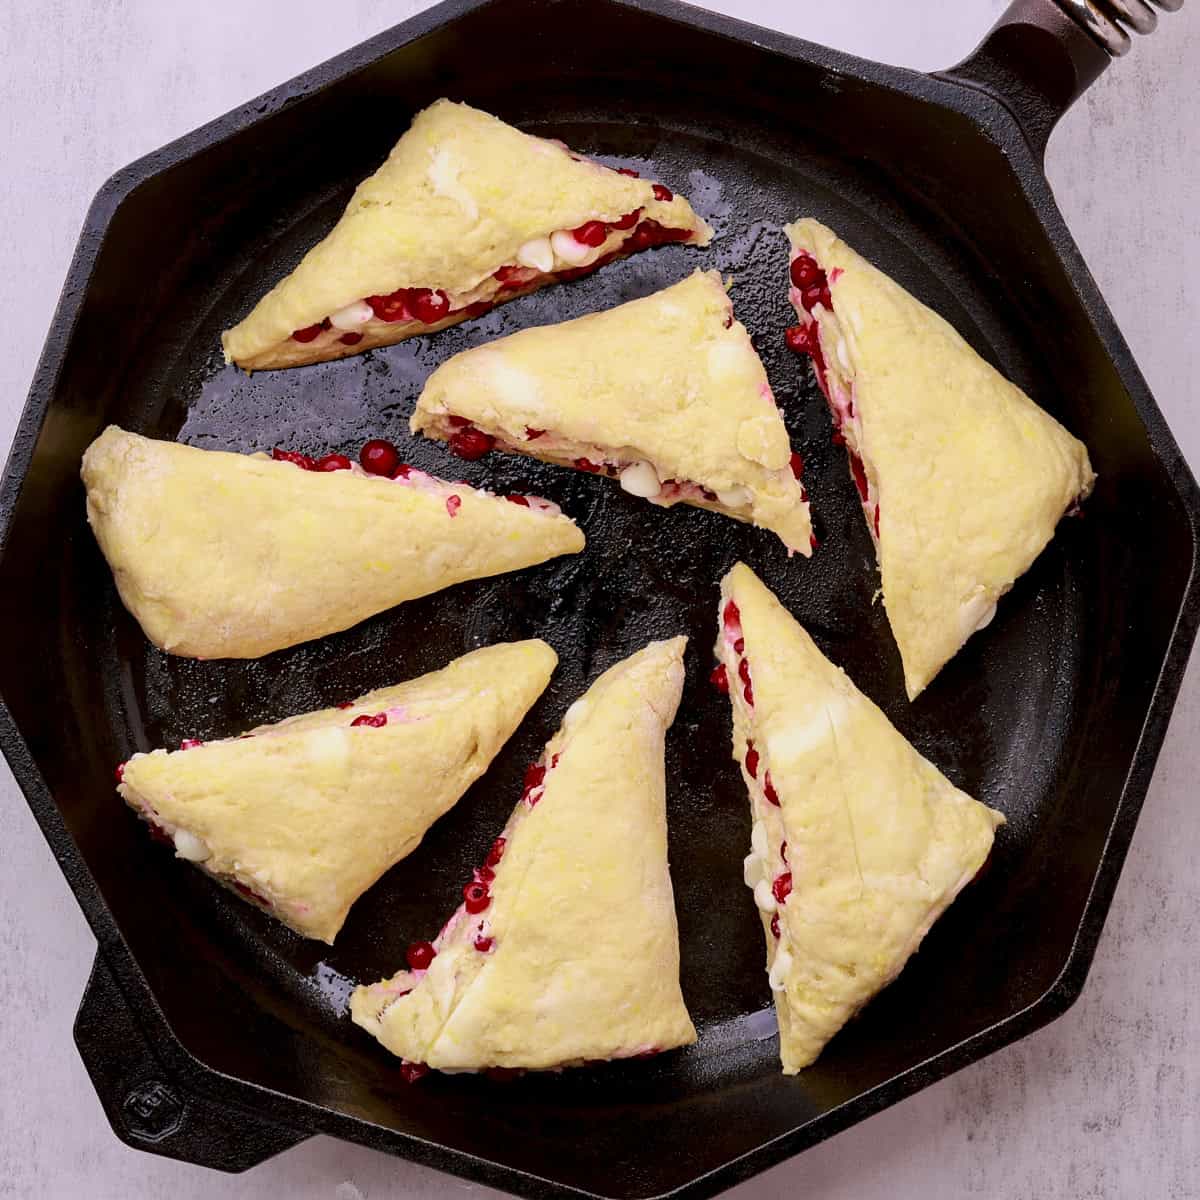
Step 6: Place the triangles in a skillet or on a baking tray (I like to line mine with parchment). Cover and refrigerate for 30-60 minutes. Preheat the oven to 425°F.

Step 7: Lightly brush the scones with cream and sprinkle the tops with turbinado sugar (or granulated sugar works in a pinch).

Step 8: Bake for 12-15 minutes, or until lightly golden brown and cooked through in the center. Allow the scones to cool for 5 minutes before serving.
Hint: We want the dough to be rough and crumbly before rolling. Resist the urge to mix until the dough comes together perfectly, especially since rolling the dough will compact and bring everything together. Simply form the dough into a loose ball, then let the rolling process bring the dough together. We don't want to loose those small pockets of butter as they are what help create the lightest, fluffiest Currant Scones.
Substitutions
- Gluten-Free - you can use a gluten-free 1-to-1 flour substitute like Bob's Red Mill and achieve a very lovely scone.
- Dairy-Free - while this will change the texture of the scones some, you can definitely still achieve a delicious result. Use dairy-free "butter" (I love Miyoko's unsalted plant milk butter) and your choice of dairy free milk. Soy is always best as it contains the highest fat content but others work well too. I often bake with oat or almond.
- Egg-Free - this is probably what will change the texture of the scones the most but flax-eggs are the most reliable substitute here.
Variations
- Berry-licious - try adding in a variety of berries like raspberries, blueberries, blackberries or saskatoons.
- Deluxe - drizzle the top with melted chocolate or icing (powdered sugar, water and vanilla).
- Chip Variations - try yogurt chips, dark chocolate chips or even butterscotch!
Try pairing this with my Lemon Cream Cheese Icing for a decedent finish! For another quick and delicious treat try my Oatmeal Cherry Cookies or my Chocolate Chunk Pecan Cookies.
Storage
The first few days: You can store the Currant Scones in an airtight container or bag on the counter for 24 hours or in the refrigerator for up to 4 days.
Freezing: These freeze wonderfully. I recommend freezing them the day they are baked, as soon as they are fully cooled. Again, use an airtight container or bag.
Reheating: The best way to reheat these is in the oven. Preheat the oven to 300°F. Place on a baking sheet and lightly brush the scones with milk/cream and loosely cover with foil. Warm for 8-12 minutes removing the foil for the last 2-3 minutes for a lightly crisp exterior.
Make Ahead
These Currant Scones can be made ahead of time for quick baking when the time comes! There are two easy ways to keep these yummy treats ready for your oven:
- You can prepare and shape the log, cover it well, and refrigerate for up to 24 hours. When ready, slice into triangles, brush with milk, sprinkle with sugar and bake!
- You can slice the log into triangles and freeze them. Pull out one scone at a time or the whole batch and bake from frozen. Just add a couple minutes baking time as needed and once again, don't forget to brush with milk and sprinkle with sugar.
Top Tip
Three things have the biggest effect on the result and quality of these Currant Scones:
1. Cold butter. Ensure that your butter is fresh out of the fridge. I know it's more difficult to work with but it is essential for light and fluffy scones. Secondly, don't overwork it into the flour. Allow small chunks to remain. They should be visible right until you put them into the oven.
2. Over-Mixing. As noted above, do not over-mix your dough when combining the wet and dry ingredients. Allow the dough to feel unpolished and rough.
3. Cooling. Do not skip cooling the scones before baking. This is essential in helping them maintain their shape.
FAQ
Yes! I have suggested rolling the dough out and adding the fillings this way to help keep the berries from staining the dough. However, you can add the berries to the dry ingredients, form a disc with the dough and cut it into wedges from there. I have used this technique in my Cherry Scones.
You likely did one of two things: either you over worked the butter into the flour or you over-mixed the wet ingredients into the dry when shaping they dough. See my notes above on how to avoid both these issues.
Small pieces of cold butter create little pockets of steam as the scones bake, helping give them their light, tender, fluffy texture. Avoid working the butter completely into the flour.
Related
Looking for other recipes like this? Try these:


Most Recent
Try these new Alaskan Skillet favorites!





Currant Scones
- Total Time: 65-68 minutes
- Yield: 8 Scones 1x
Description
Currants are a beautiful fruit - bright in color, bold in flavor but incredibly tart. My children love picking them from Grandma's garden, but then what do I do with a pail full of tart currants? These Currant Scones are the perfect answer, balancing the bright, tangy berries with fresh lemon zest and the gentle sweetness of white chocolate. Light and fluffy with bursts of tart currants throughout, these scones are the perfect companion to a cup of coffee, a special breakfast treat, or the highlight of brunch.
Ingredients
2 ¼ cup (337 grams) flour
1 tablespoon (12 grams) baking powder
½ cup (50 grams) sugar
2 tablespoons (10 grams) zest of lemon about 1 lemon
½ teaspoon (3 grams) salt
½ cup (8 ounces) butter cold
1 egg
⅔ cup (160 grams) cream
1 cup currants fresh or frozen
⅓ cup white chocolate chips
1 tablespoon turbinado sugar*
Instructions
- In a large bowl, combine the dry ingredients including the lemon zest. Cut in the cold butter using a pastry cutter or your hands, leaving small chunks of butter throughout the mixture.
- In a separate bowl, whisk together the egg and milk. Add it to the dry ingredients and gently stir until a shaggy dough forms (I like to use my hands for this). Do not over-mix.
- Roll the dough into a 10x15 inch rectangle on a generously floured surface. Sprinkle the dough evenly with the berries and chocolate chips, avoiding the top inch of the rectangle.
- Roll the rectangle up like a cinnamon roll, using a scraper to loosen any dough that sticks to the counter. Roll as tightly as possible. Pinch the seam and ends together to seal, then gently shape the roll into a long rectangle by flattening the top and sides.
- Using a sharp knife or bench scraper, first divide the dough into 4 equal sections by making 3 straight cuts across the log. Then cut each section diagonally at a 45-degree angle to create 2 triangles. You will have 8 scones total.
- Place the triangles in a skillet or on a baking tray (I like to line mine with parchment). Cover and refrigerate for 30-60 minutes. Preheat the oven to 425.
- Lightly brush the scones with cream and sprinkle the tops with turbinado sugar (or granulated sugar works in a pinch). Bake for 12-15 minutes or until lightly golden brown and cooked through.
- Allow the scones to cool 5 minutes. Enjoy.
*All nutritional information is an estimation only. Exact nutritional value depends on exact amounts and ingredients used.
Notes
Do not over combine the butter into the flour. We want tiny chunks of butter visible.
Resist the urge to over mix the wet ingredients into the dry mixture to get it to come together. Work the batter until it JUST comes together. It will be messy, look under mixed and maybe even have pieces falling out of it. This is right. Over working the dough quickly results in claggy scones.
Don't skip brushing it with milk or cream. This give a nice crisp finish to the exterior.
You can also use coarse sparkling sugar or regular granulated sugar.
- Prep Time: 20 minutes
- Chill Time: 30 minutes
- Cook Time: 15-18 minutes
- Category: Bread, Dessert
- Method: Baking
- Cuisine: American
Leave a Review