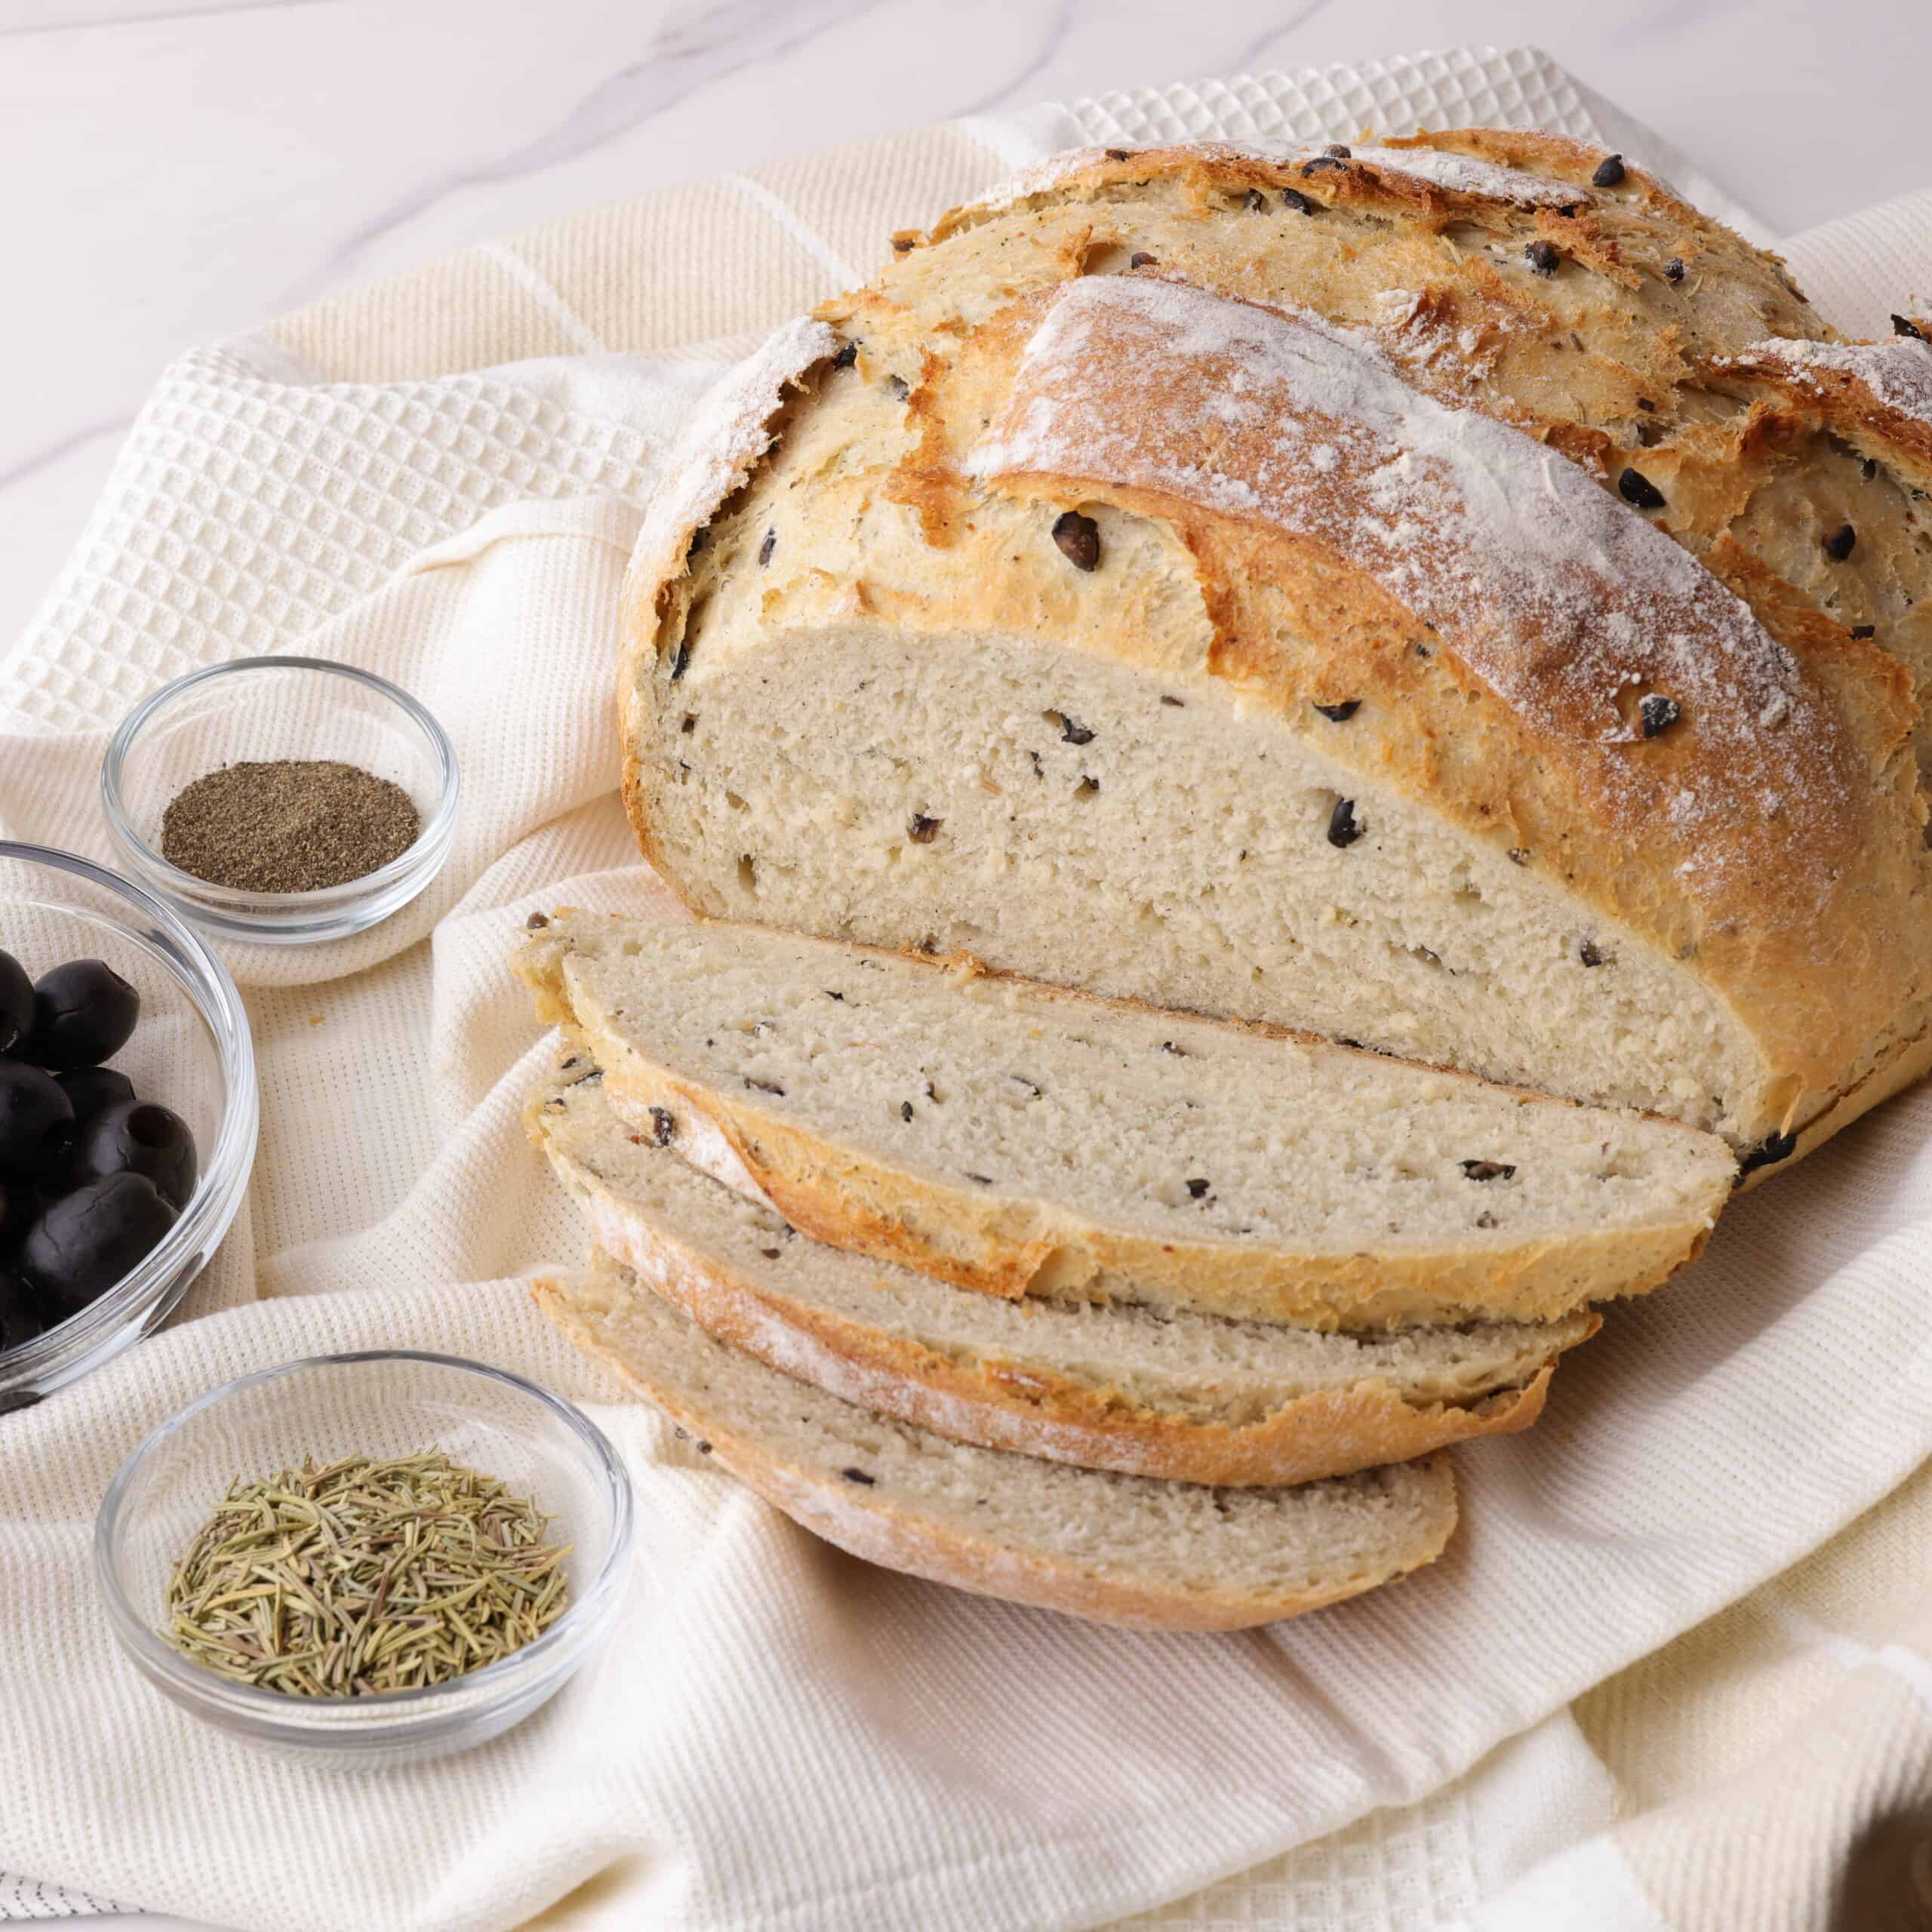
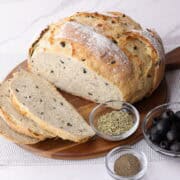
This no knead loaf is fragrant, aromatic and full of savory flavors. Its crisp exterior and soft interior make it irresistible, keeping everyone coming back for seconds. This Rosemary Garlic Bread pairs beautifully with pasta dishes, turkey dinners or simply a slab of butter.
Why I Love This
- Quick and Easy: This loaf is essentially made by dumping all the ingredients into a mixer and setting it aside to rise. Bread doesn't get any easier-or turn out more perfectly-than this.
- Full of Flavors: This Rosemary Garlic Bread is so delicious and full of flavors that no one will believe that you whipped it up in an effortless two hours.
- Perfectly Balanced: Its perfectly crisp, golden-brown crust contrasts beautifully with the warm, soft, and aromatic interior, making each bite irresistibly satisfying-and going back for seconds (or thirds) of this Rosemary Garlic Bread, almost guaranteed.
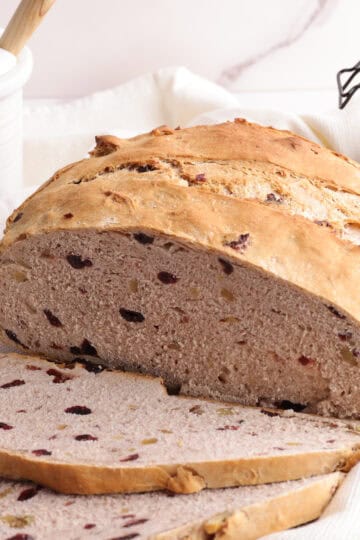
Pair this bread with my Blackened Salmon Caesar Salad or for a "sweet" version try my Cranberry Walnut Bread recipe on this site that lends well to a turkey or pork chop dinner.
Jump to:
Ingredients
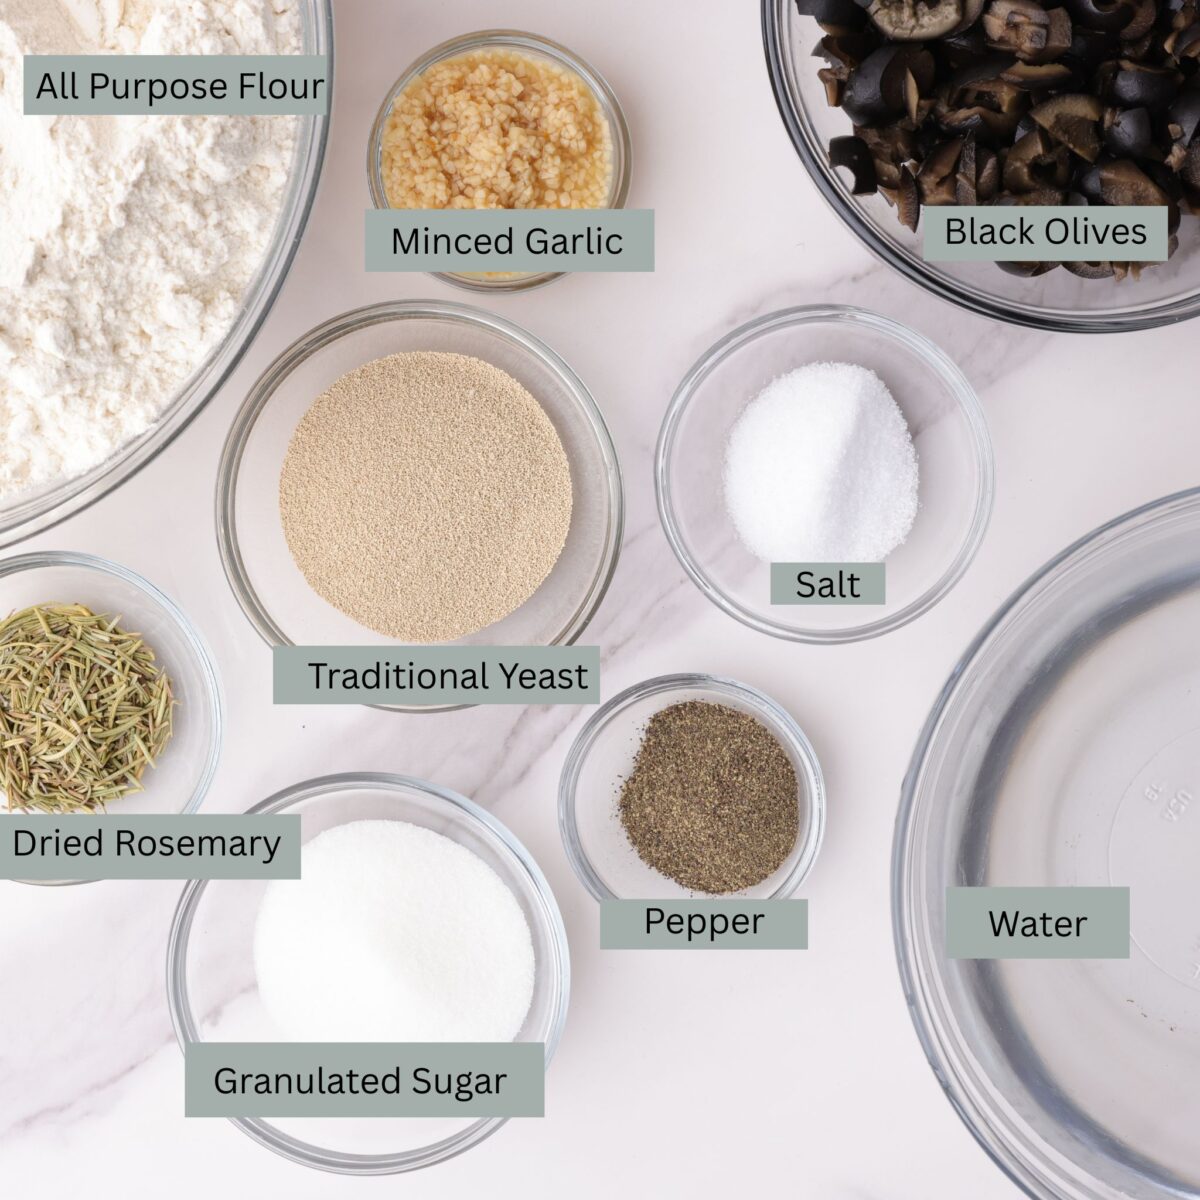
- Flour - I like to use all purpose flour because that's what I keep on hand in the house. It works fine for me but if you have bread flour that would work wonderfully as well.
- Sugar - A little bit of sugar is used to help feed and activate the yeast.
- Yeast - I like to use traditional yeast and let it activate prior to adding it to the flour. You could use quick rise yeast if you'd rather. Just add all your dry ingredients together and add your water last, making sure that it is still warm to help with the proving.
- Minced garlic - I like to use minced garlic rather than powdered. I find it has a more "real" taste. The down side is that it doesn't mix in very easily. To help work around this I add it to the liquids and add it to the dough that way.
- Salt - This seems like an unreasonable amount of salt and I am someone who typically cuts the salt required in half because I find things turn salty quickly. This however, needs all the salt and doesn't turn salty in the least. It adds great flavor that you don't even realize is there.
- Dried rosemary - You can also use fresh rosemary. That will have a stronger flavor and thus you wouldn't need to use as much.
- Black pepper - This adds some depth to the loaf and pairs wonderfully with the garlic.
- Black olives (optional) - This is optional and the loaf is delicious with or without the olives but it is a very good option. I'm not typically an olive person but this is an exception. They really are a great addition.
See recipe card for quantities.
Instructions
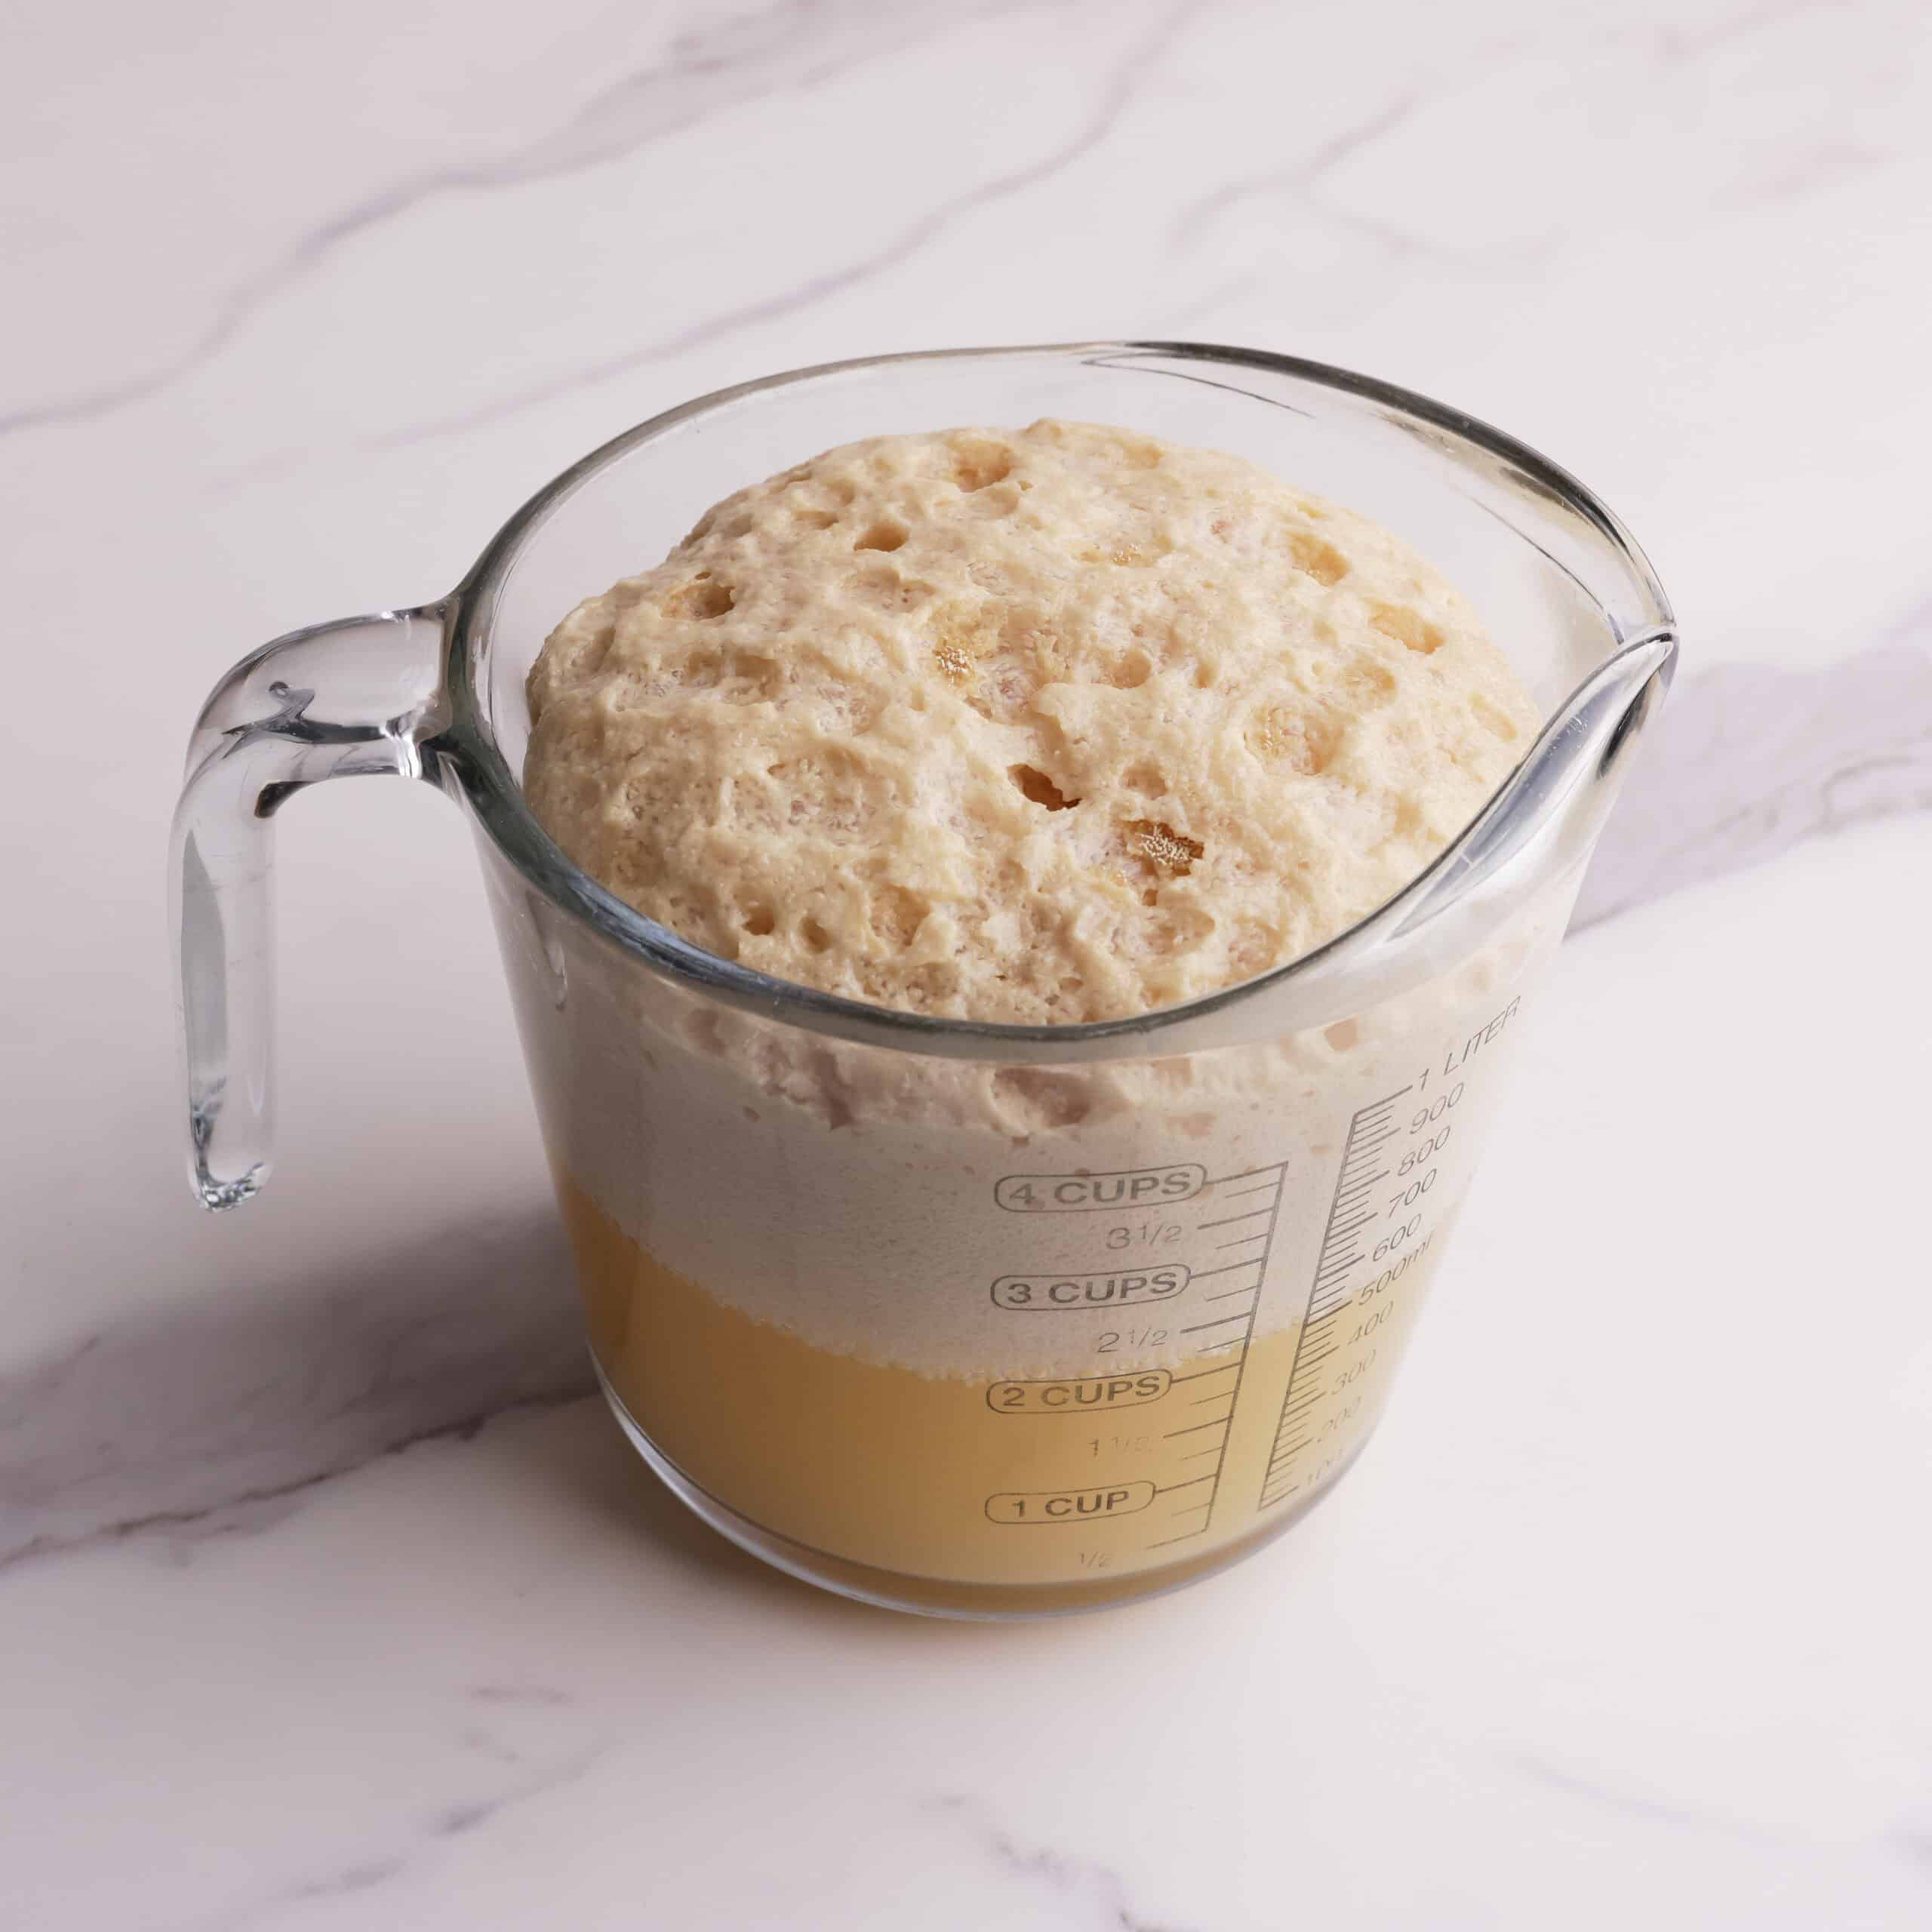
Step 1: Warm water until lukewarm, then stir in sugar and yeast. Let sit about 10 minutes, until bubbly and roughly doubled in volume.
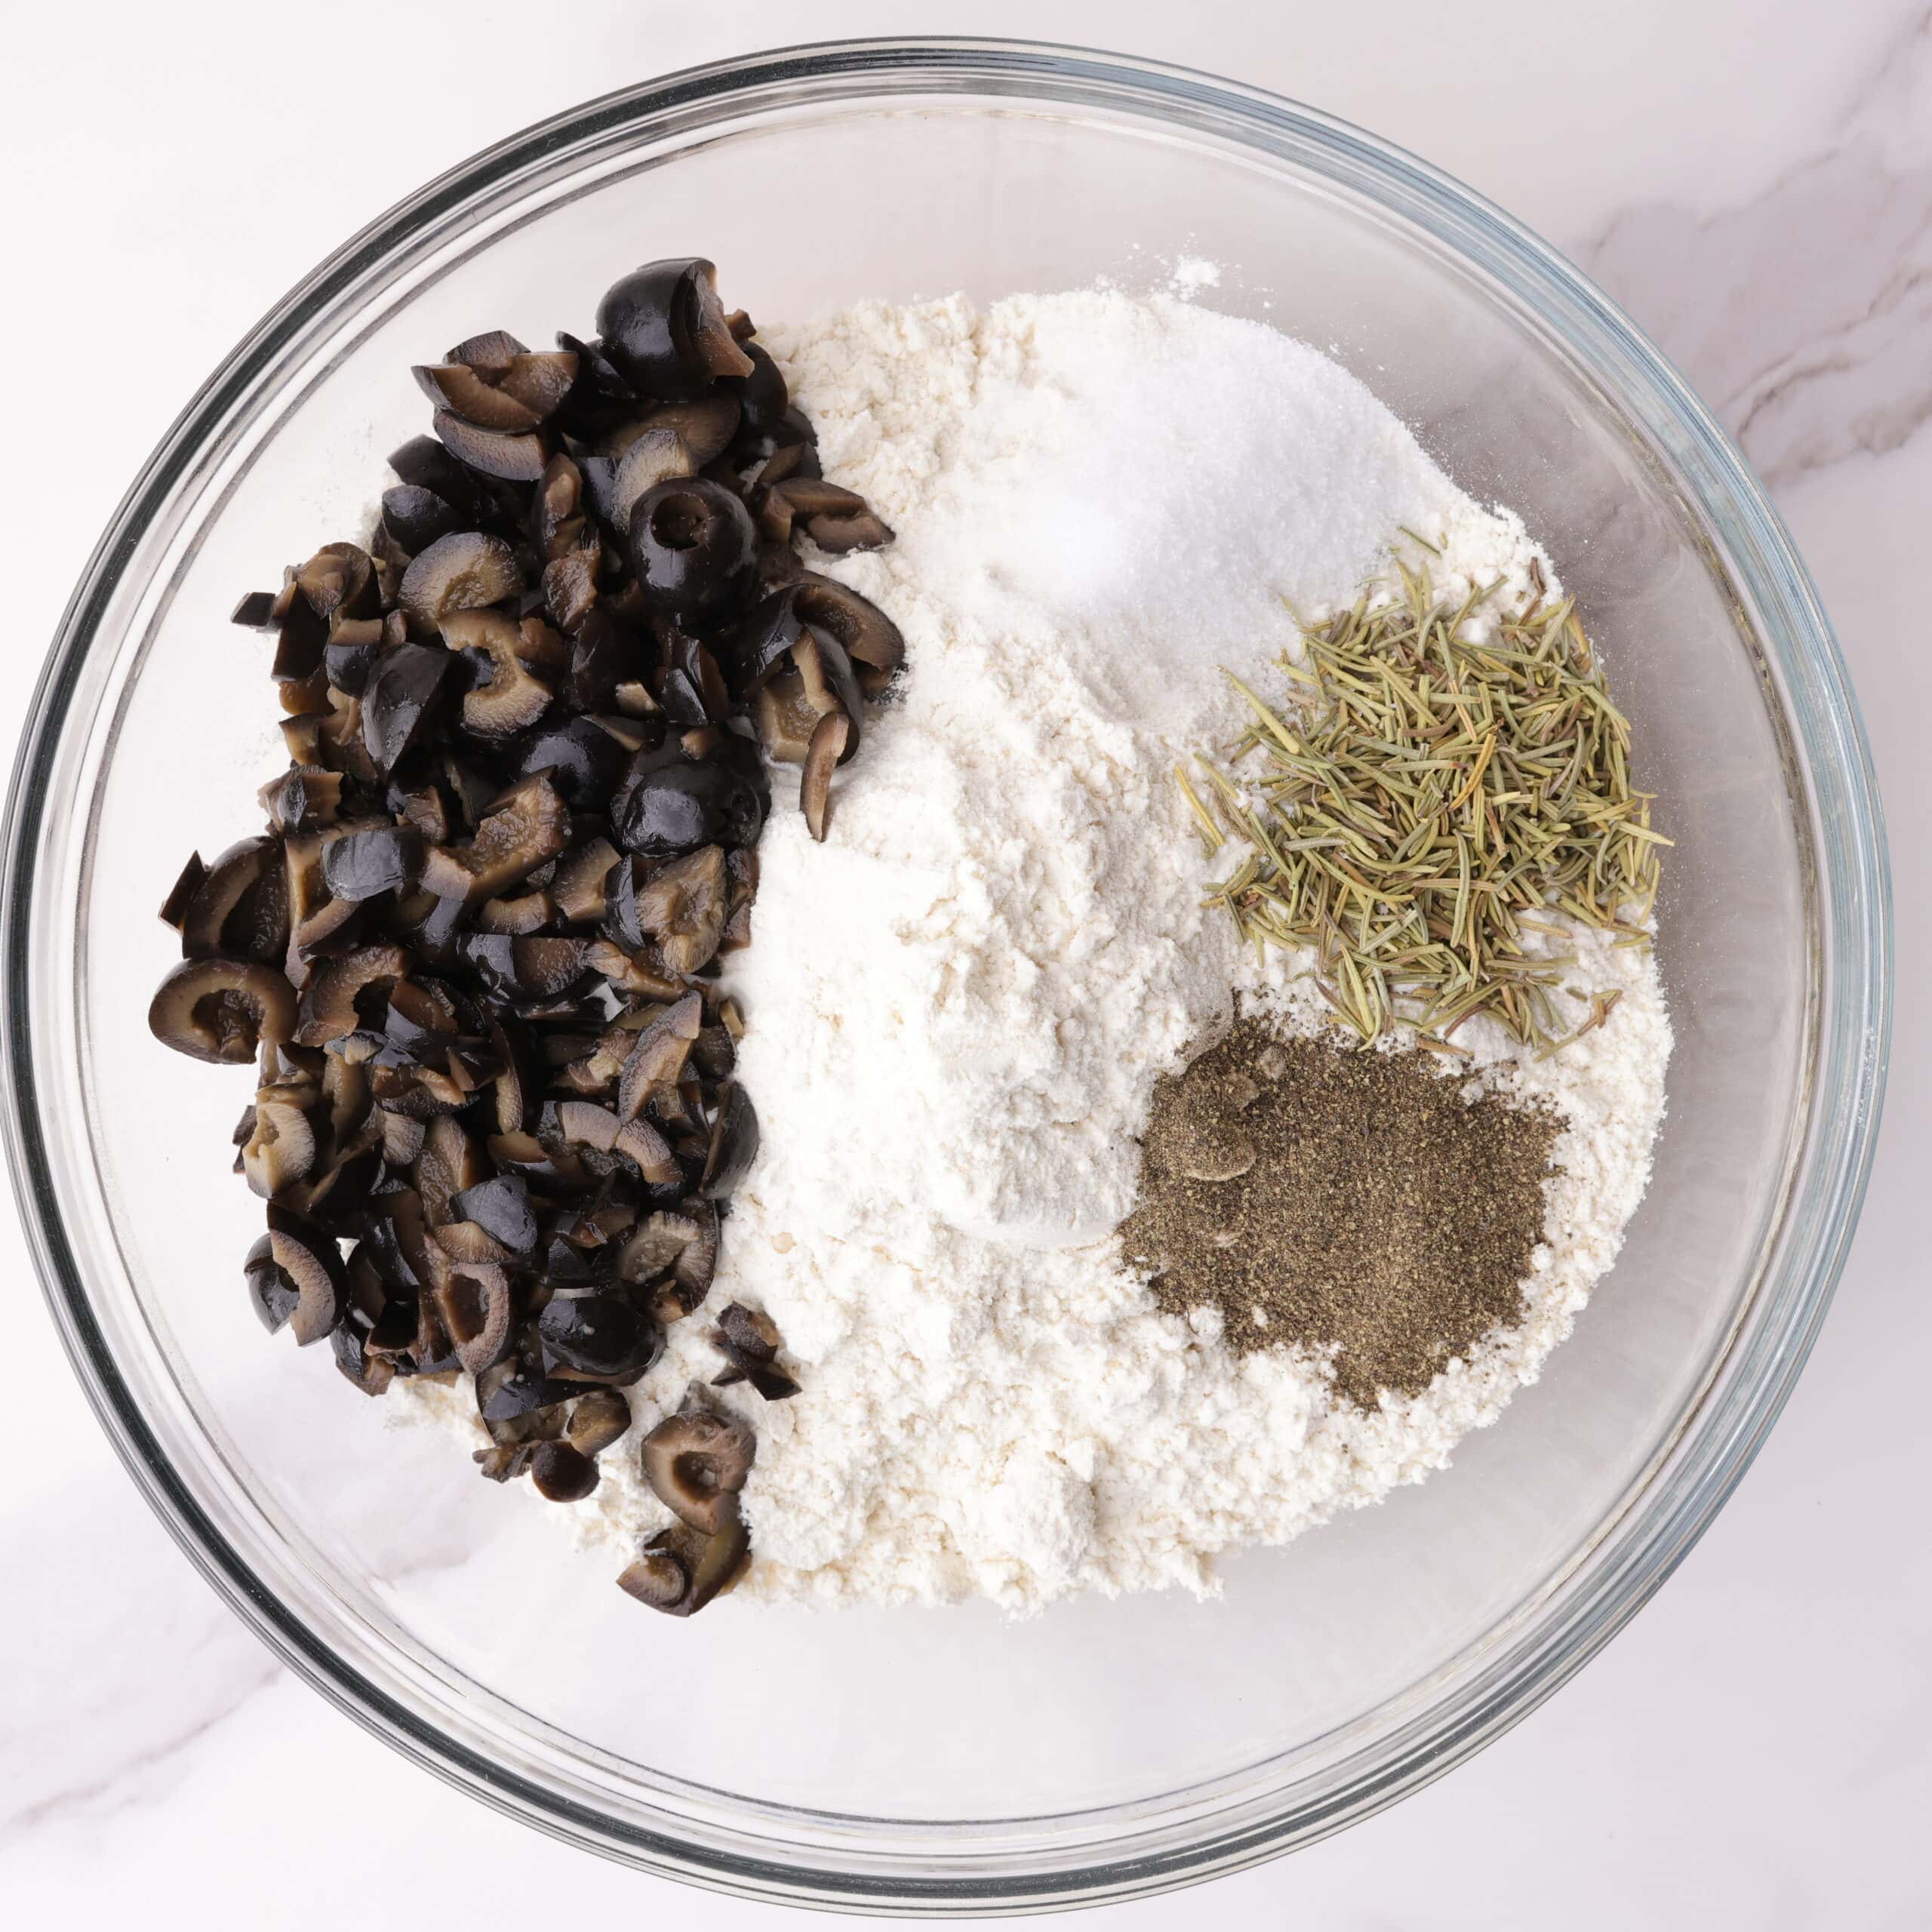
Step 2: In your mixer bowl combine 3 cups of flour, the salt, pepper, rosemary and olives. Once your yeast is fully activated add the minced garlic to it and then immediately pour into the flour mixture. This will help the garlic to mix into the dough more evenly.
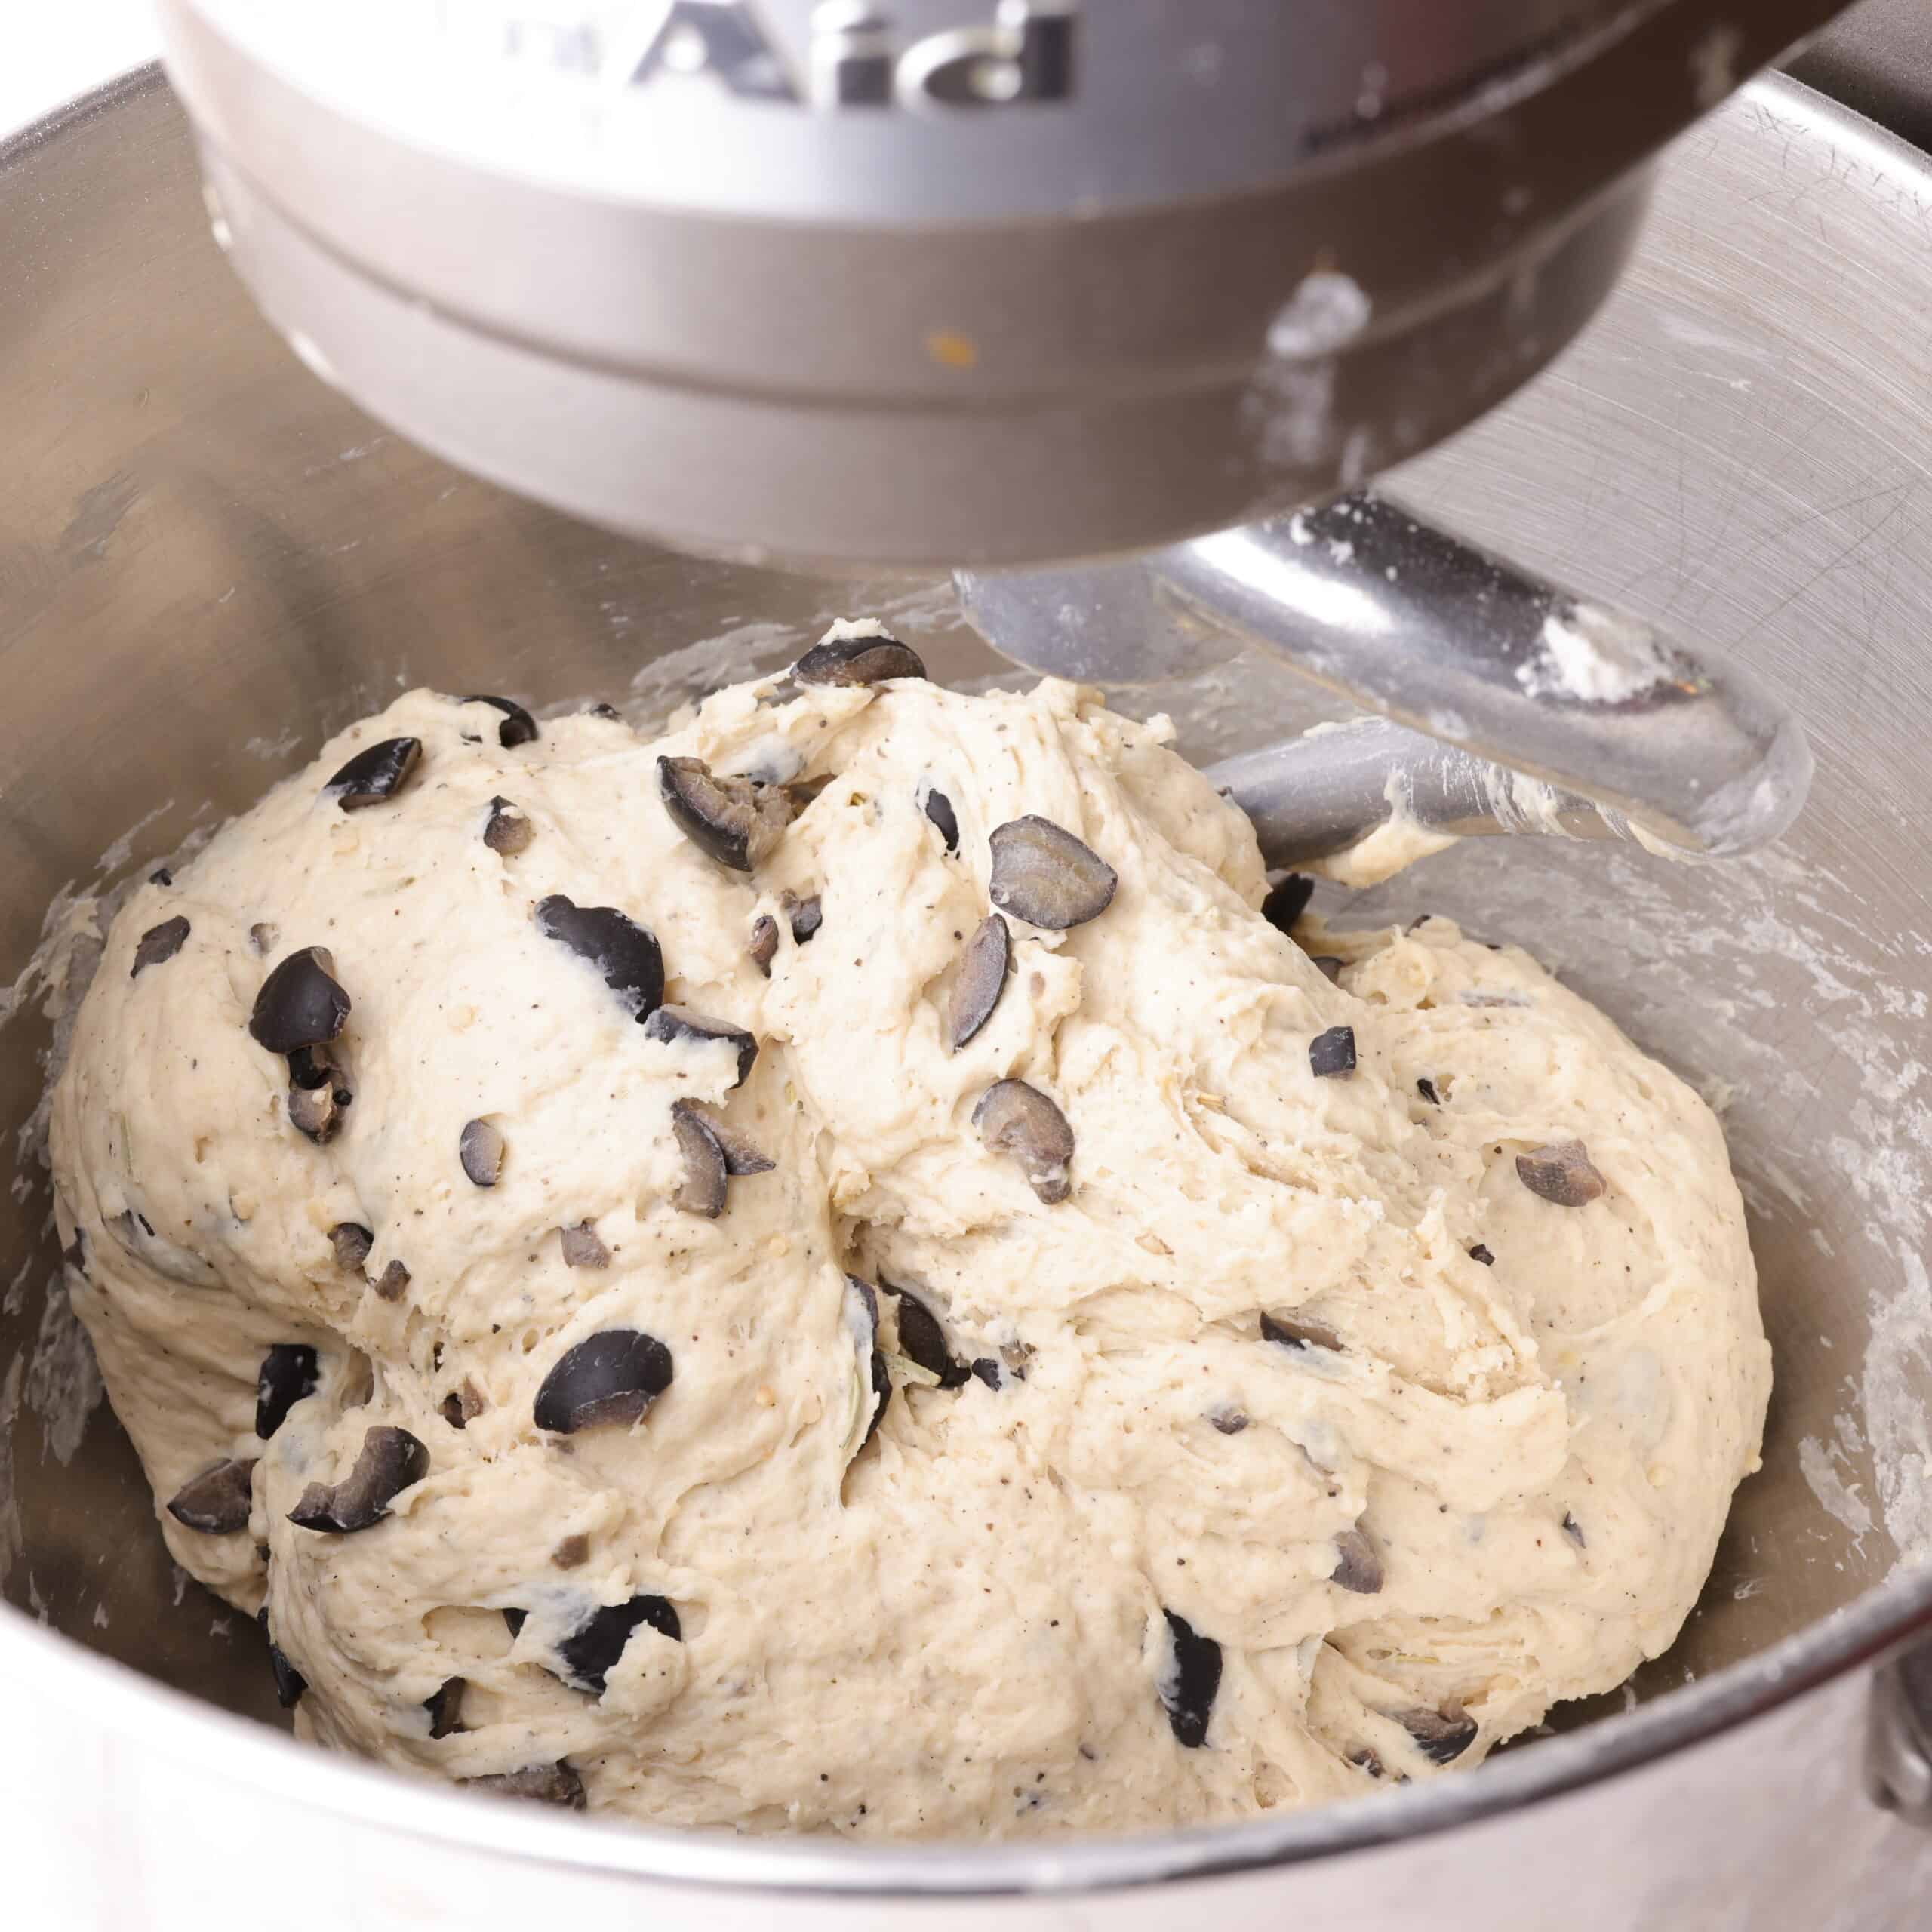
Step 3: With the mixer on low and dough hook attached, gradually add the remaining flour, using more if necessary, until a soft dough forms and pulls away from the bowl. Mix 5 minutes more.
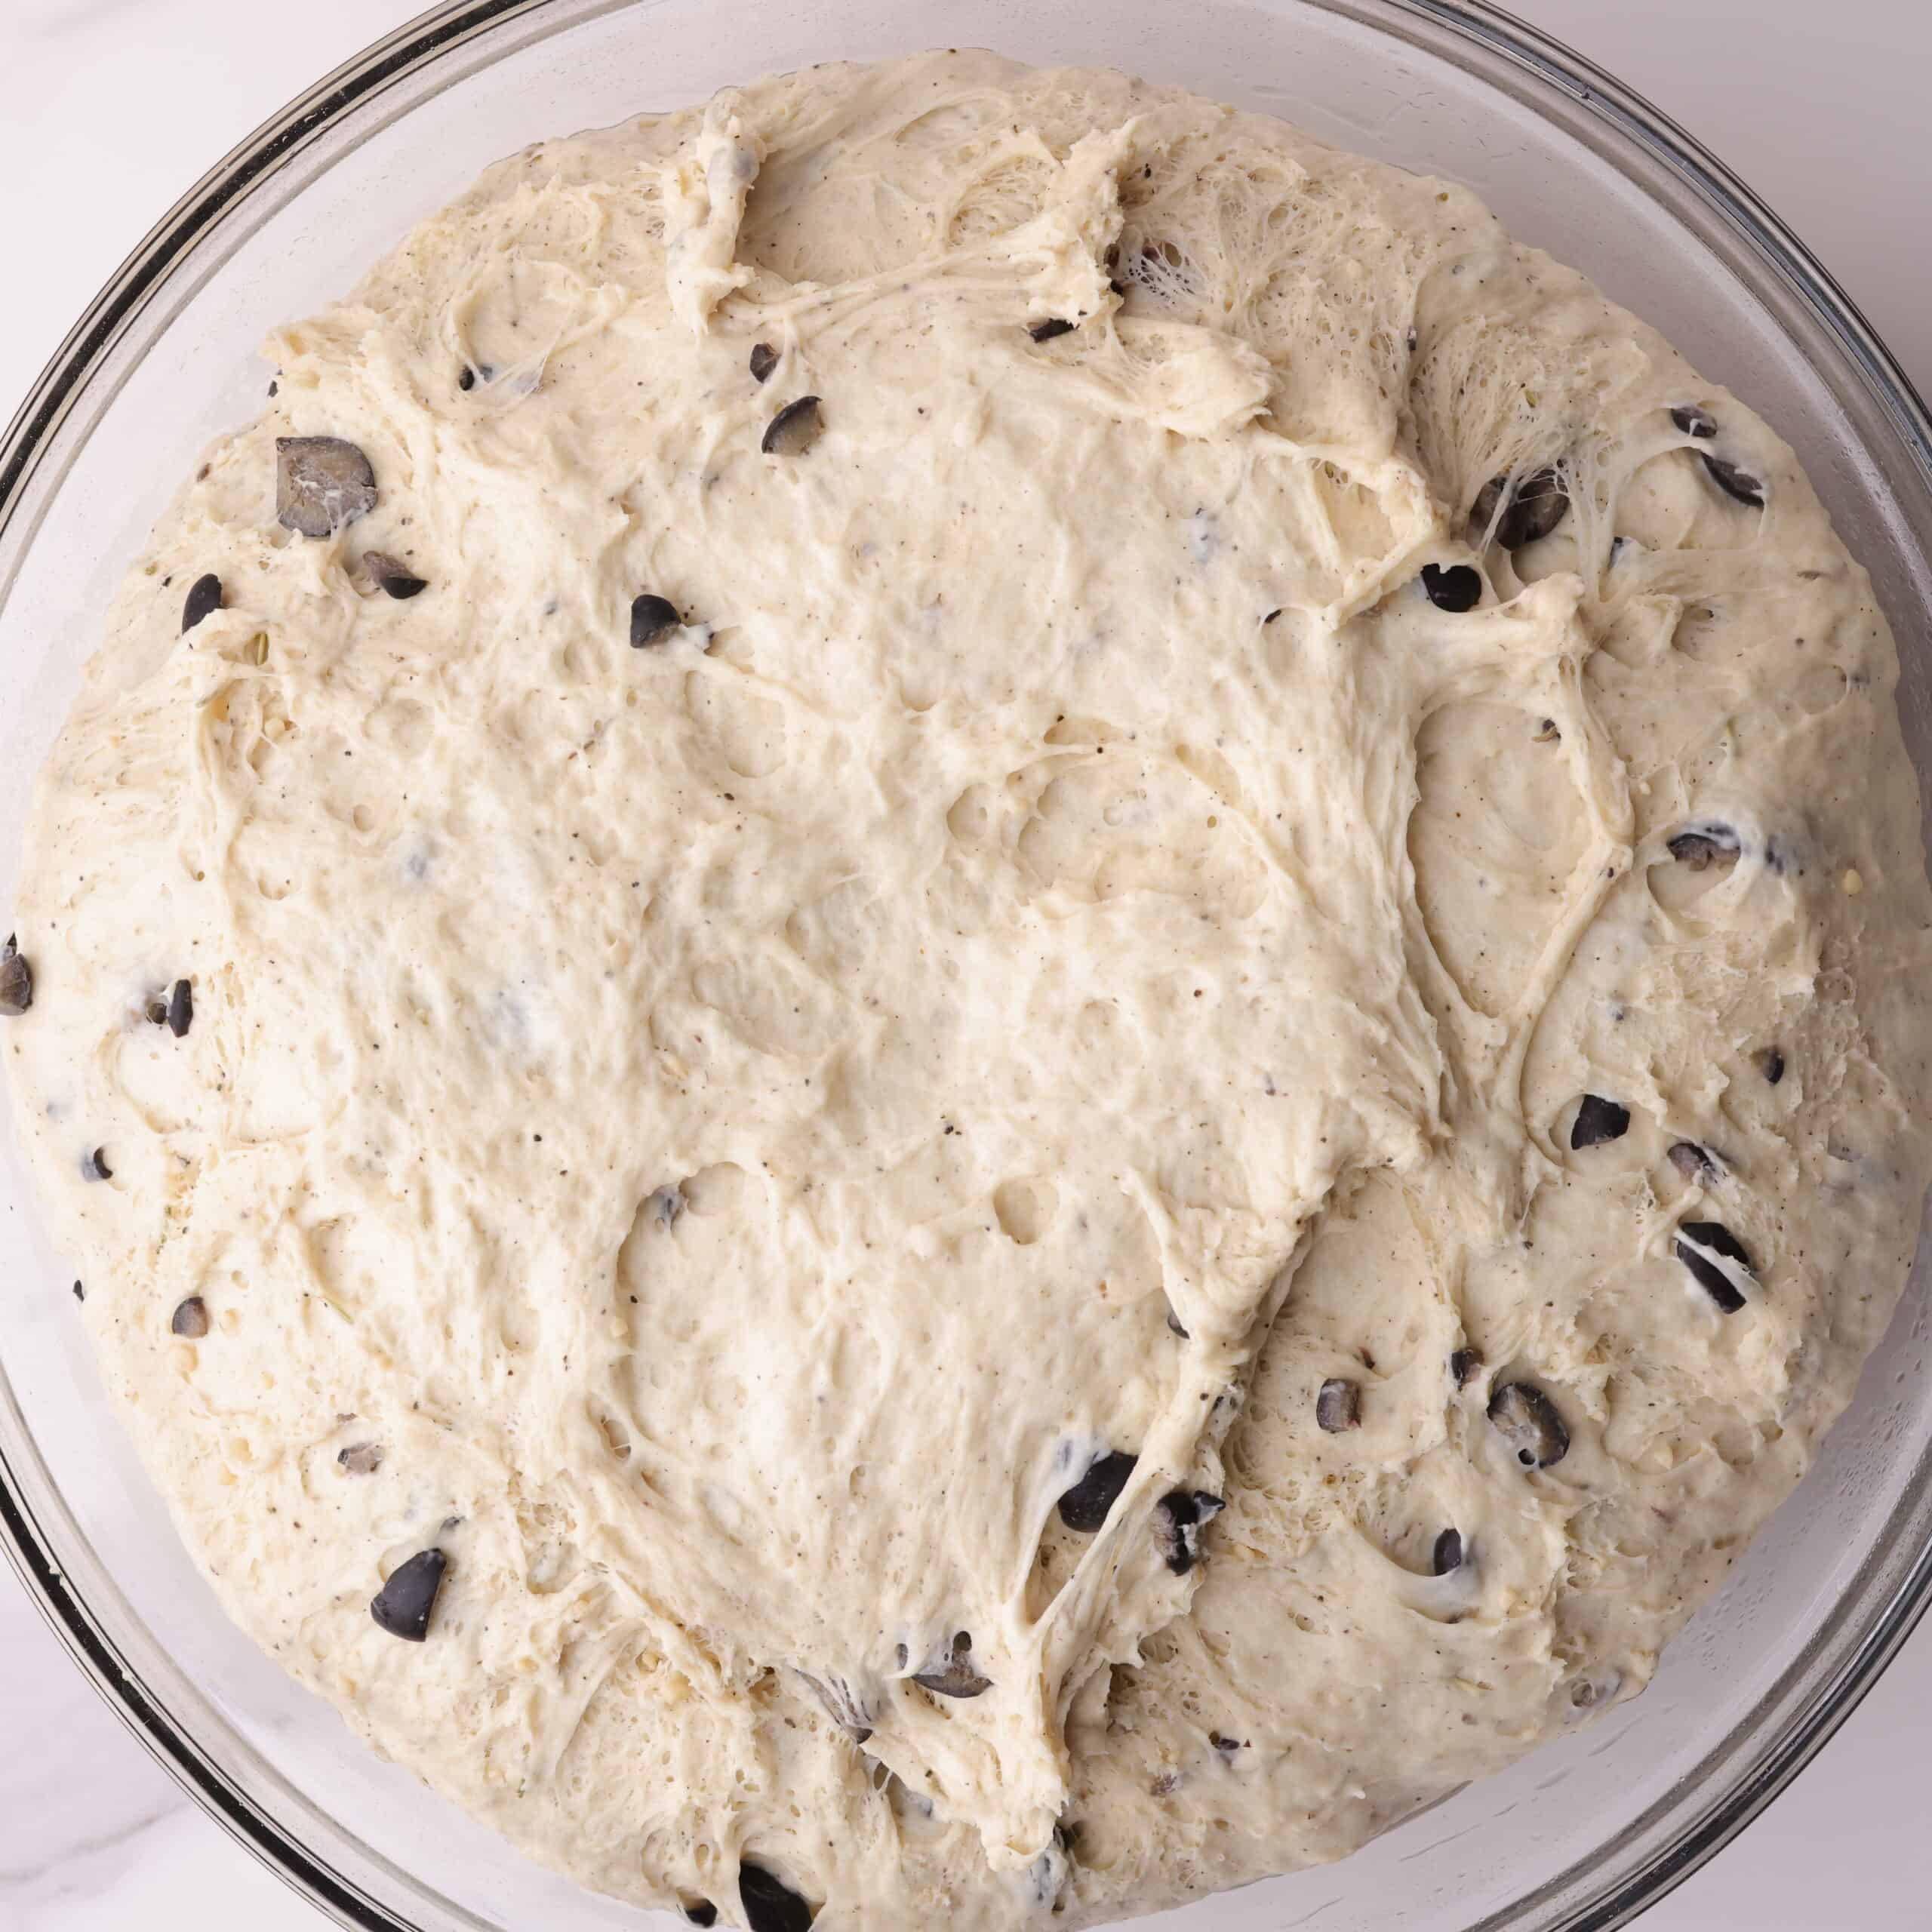
Step 4: Shape dough into a ball and place in a lightly oiled bowl. Cover and let rise in a warm spot until doubled, 30-60 minutes. Preheat oven to 400°F with Dutch oven and lid* inside.
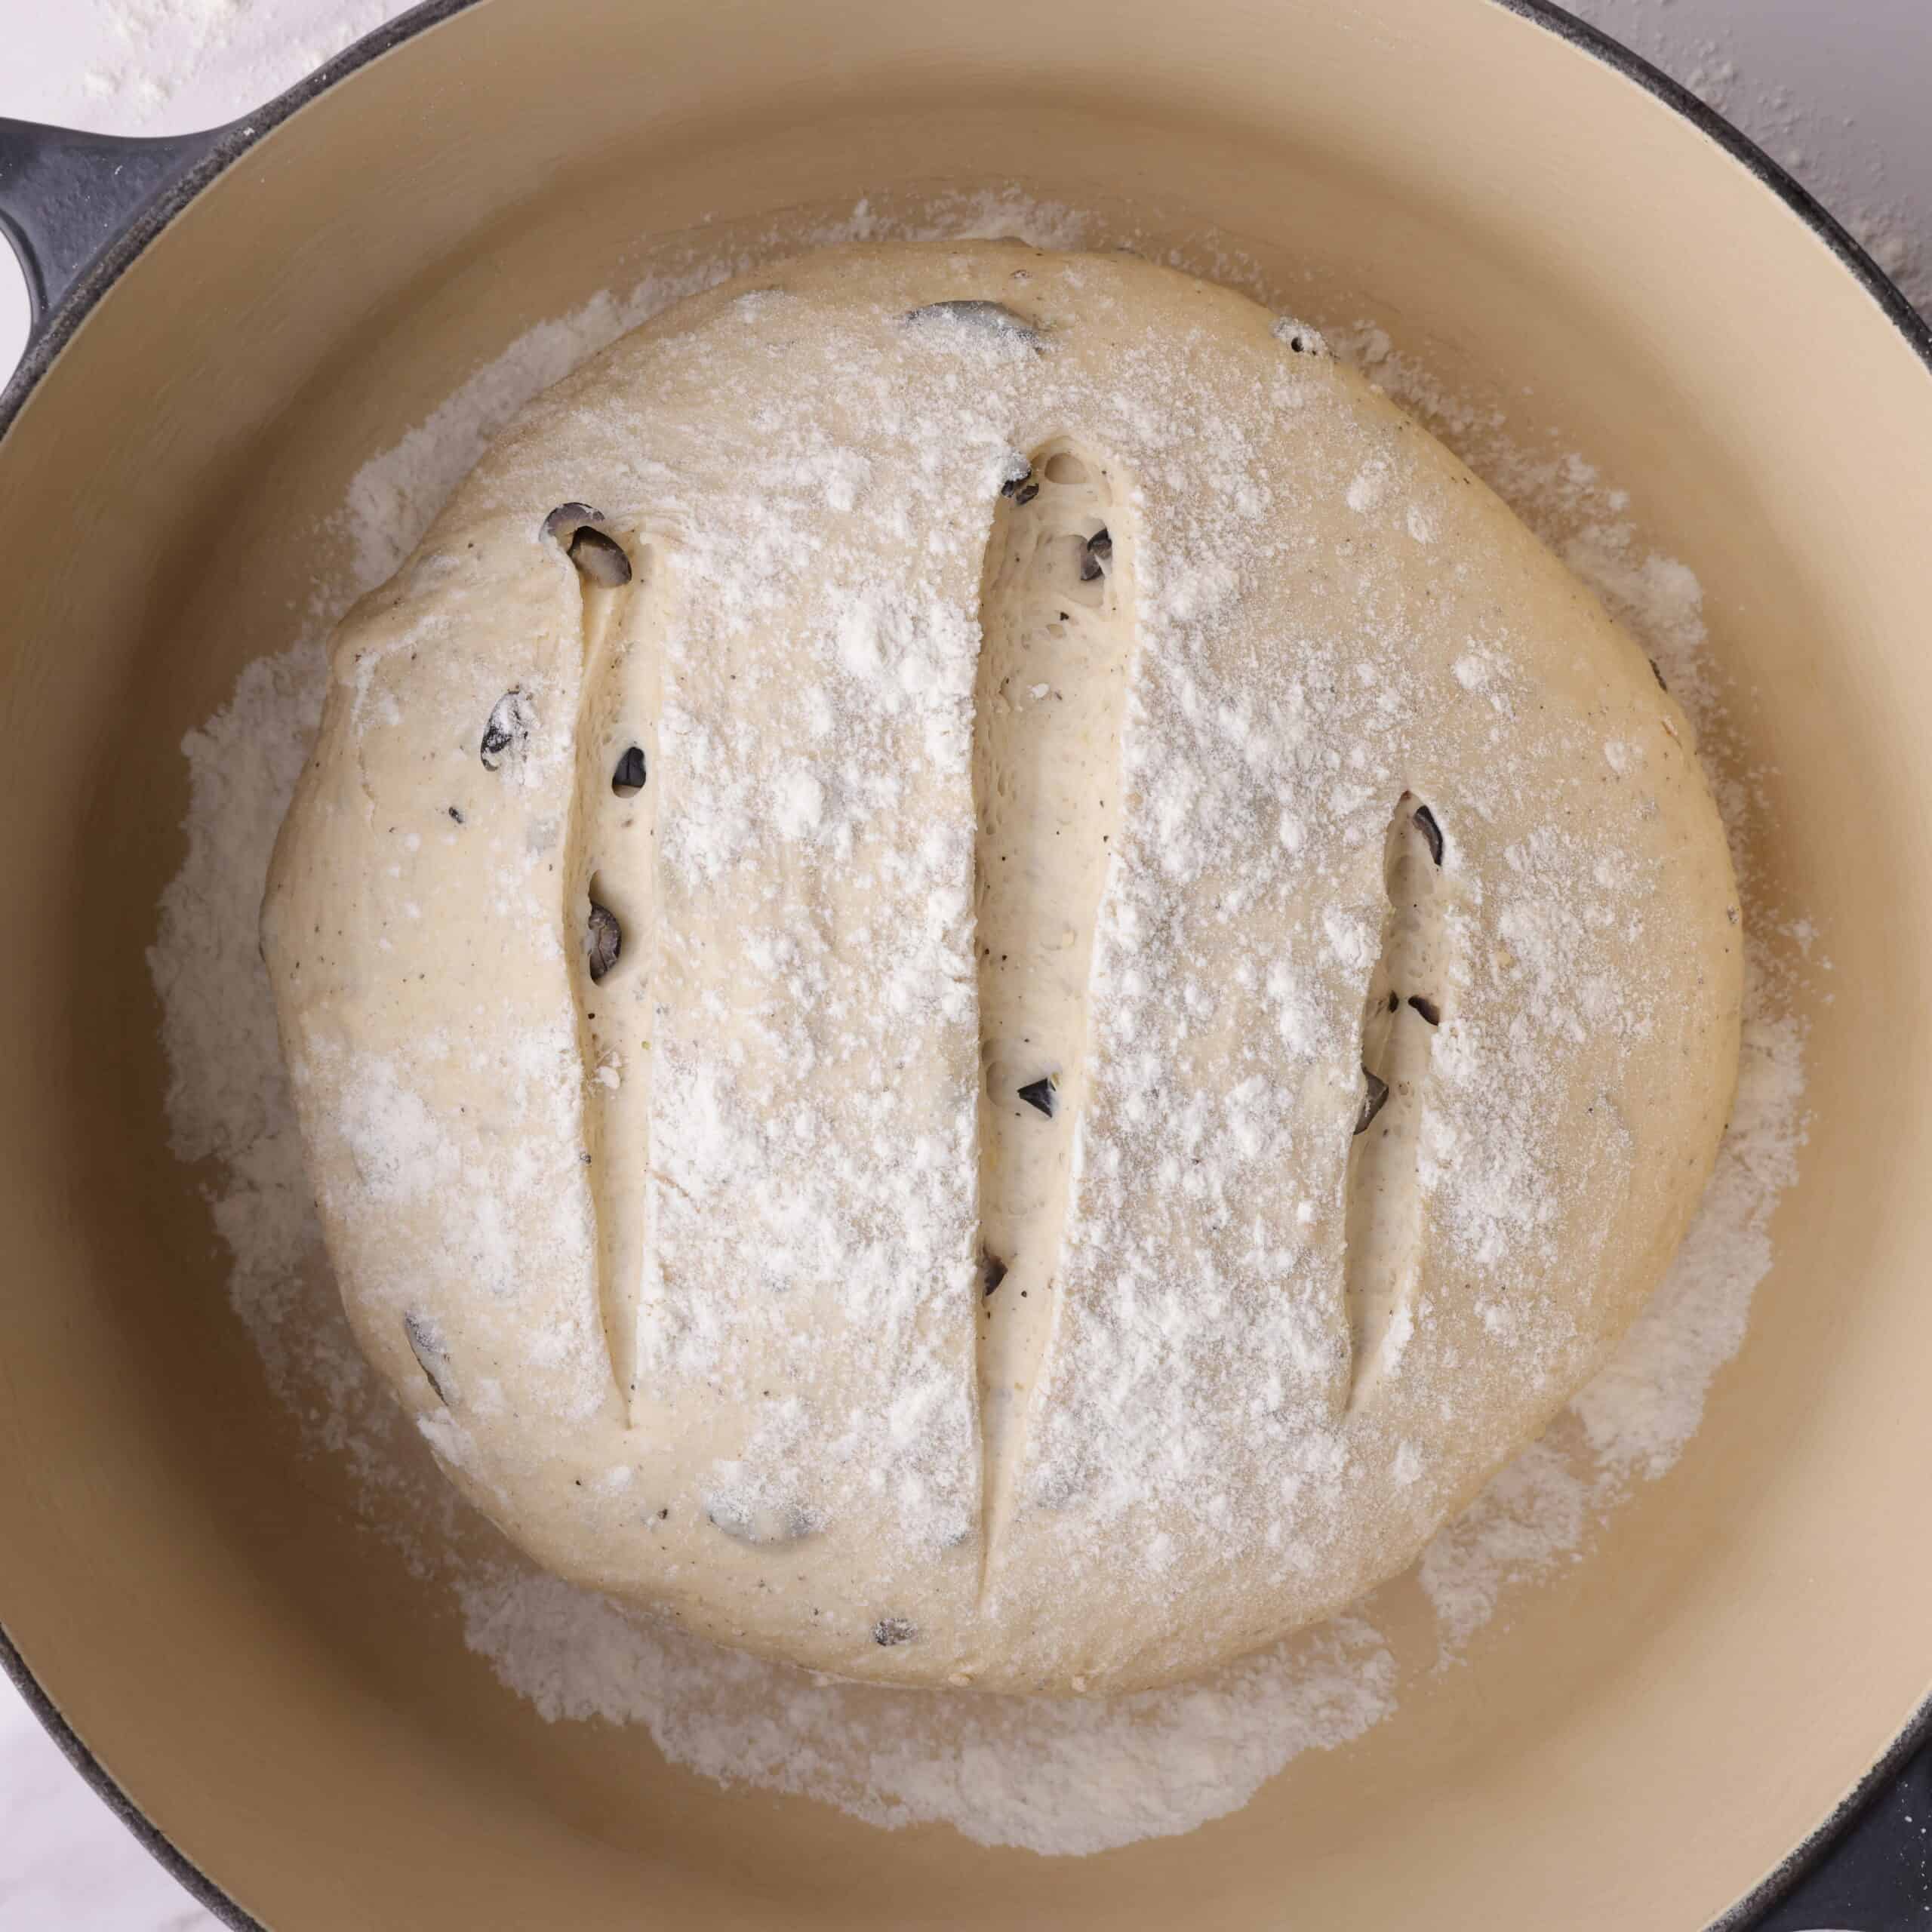
Step 5: Remove the heated dutch oven and lightly flour the bottom. Gently shape the dough into a ball and place it in the dutch oven. Lightly flour the top and use a knife to make three shallow slices along the top to give it that artisan look.
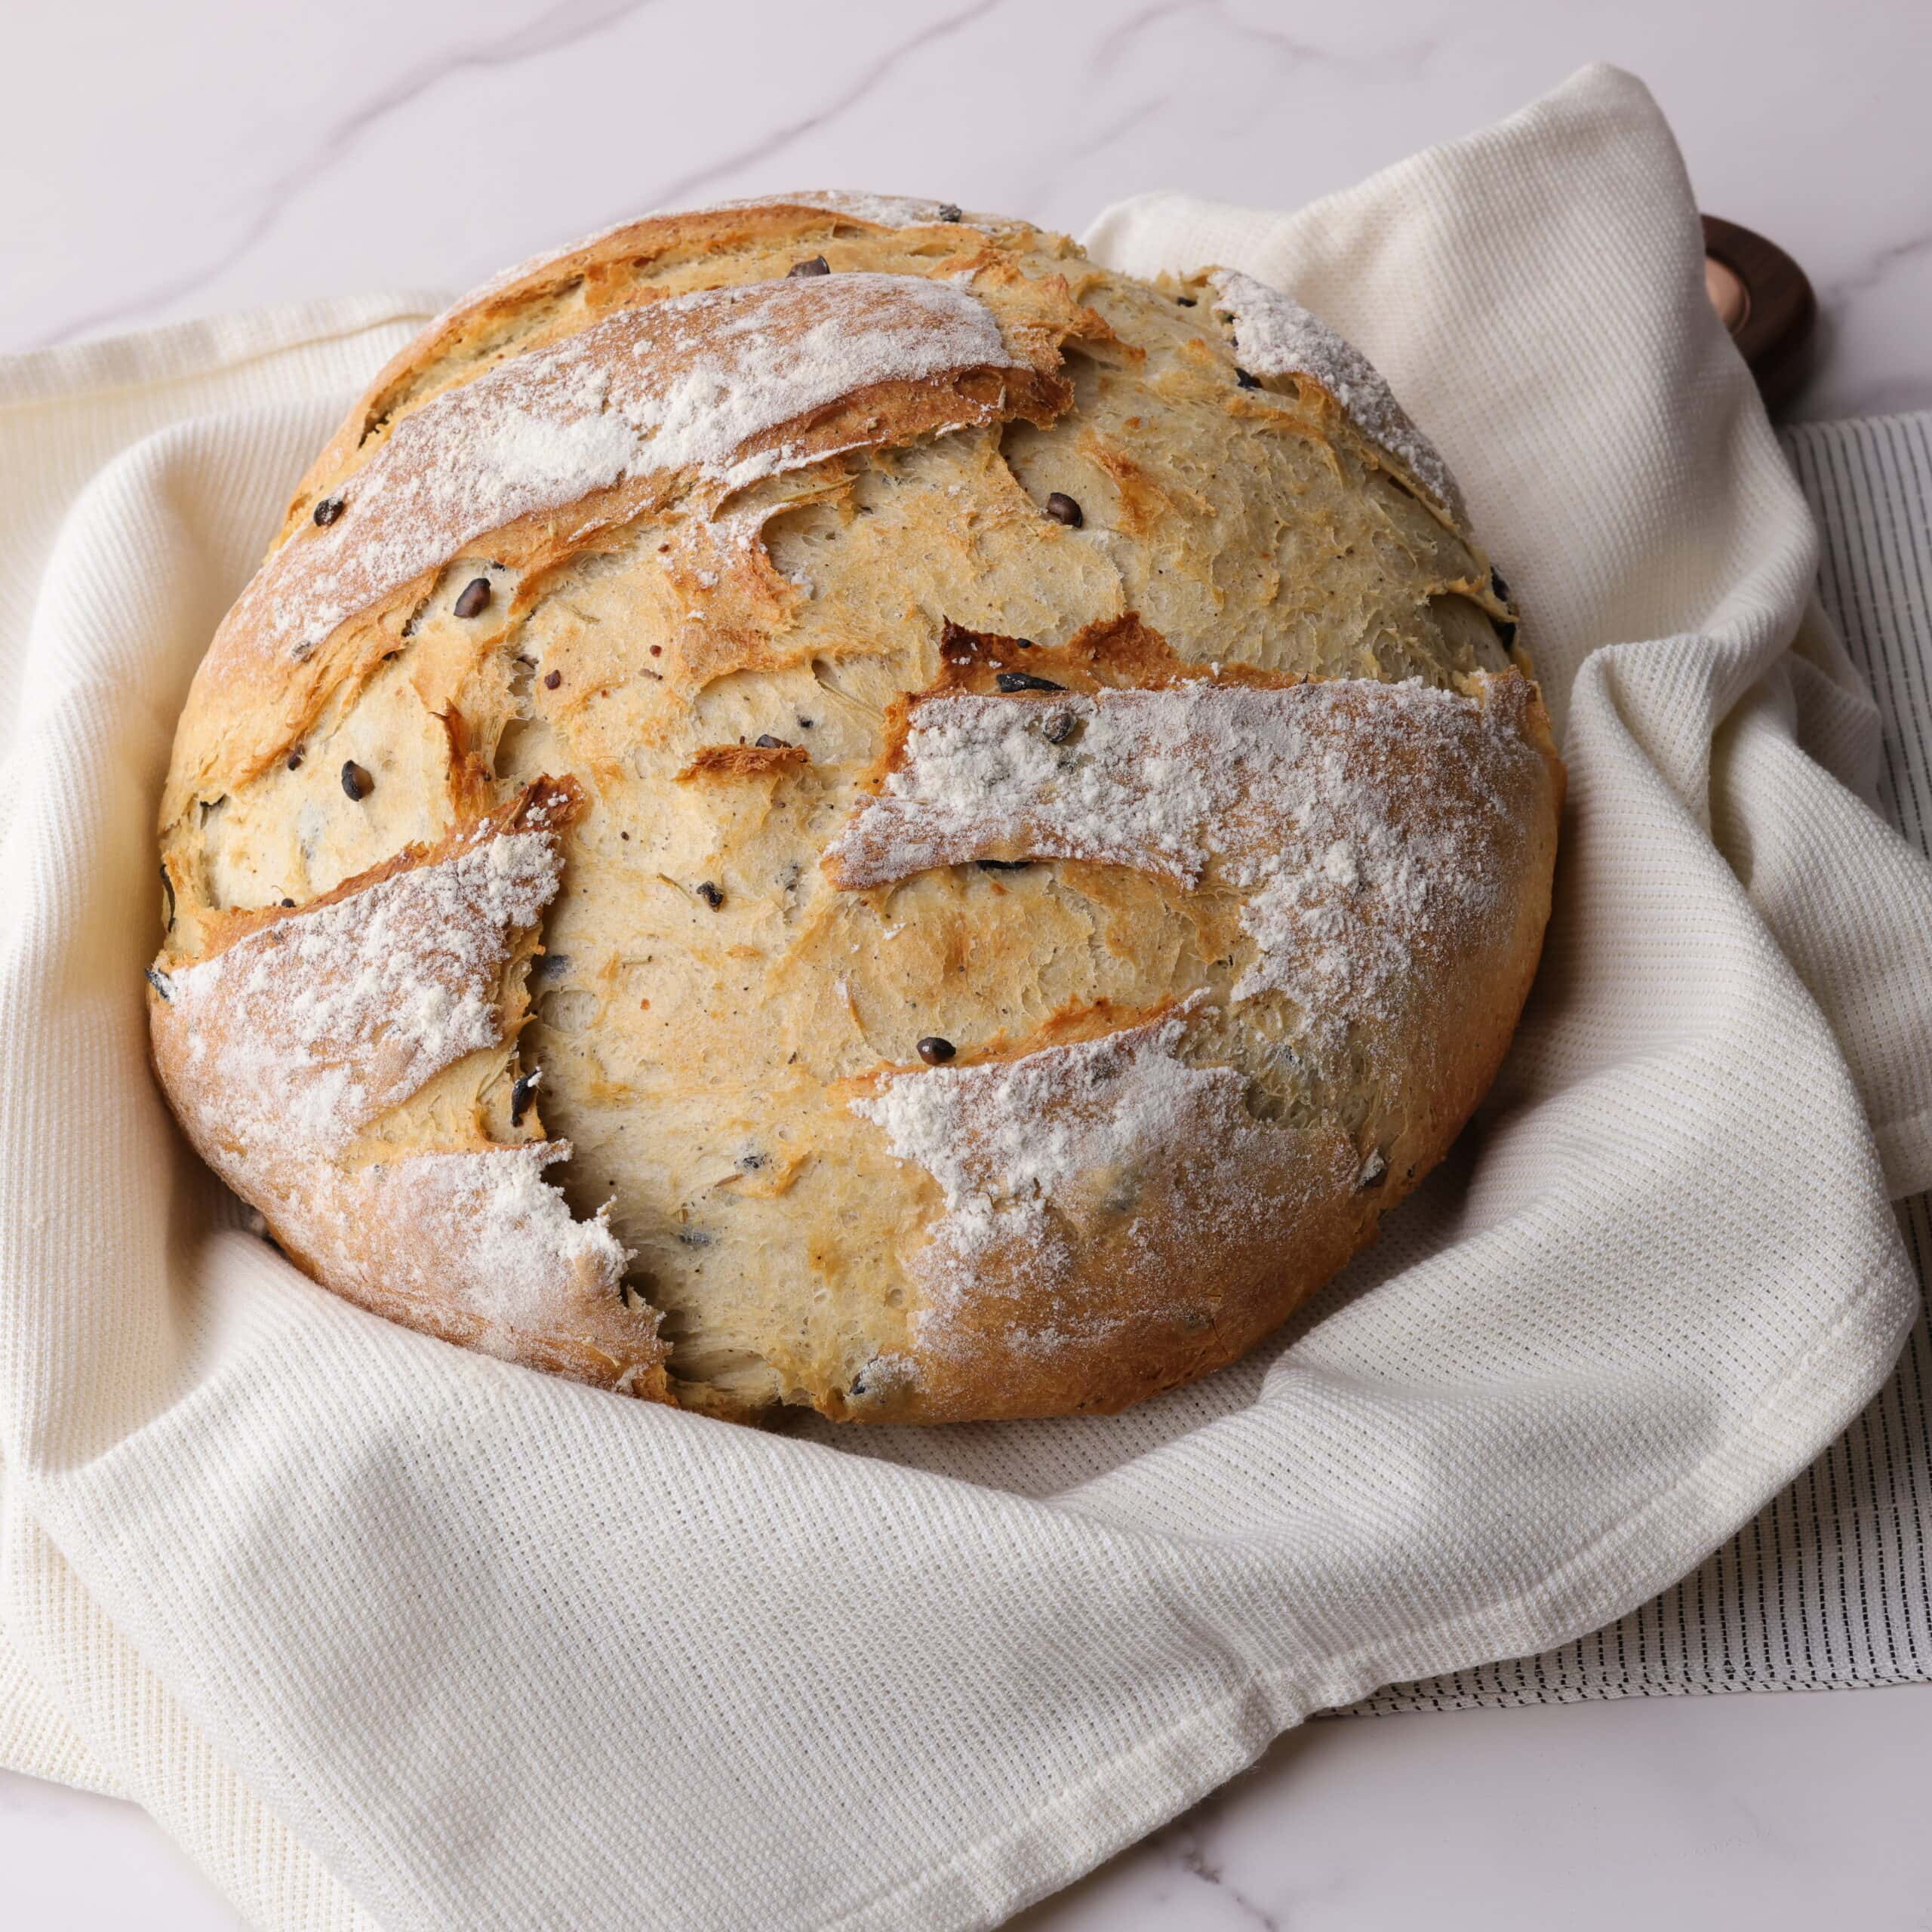
Step 6: Cover and bake for 30 minutes, then uncover and bake 5-7 more until golden. Cool on a rack for 15 minutes before slicing. Enjoy!
Hint: Don't overheat your water for activating your yeast or you'll kill it. You want it to be slightly warmer than lukewarm but not hot. You should be able to comfortably put your finger in the water and feel a slight bit of warmth to it.
*Not all lids are oven safe, particularly the handle. You may be able to remove the handle from some lids before placing them in the oven.
Substitutions
- Gluten Free - I have not tried using gluten free flours for this Rosemary Garlic Bread but I would recommend a mix of one to one gluten free flour which I think will be fairly successfully. Let me know if you try!
- Whole Wheat - I would not recommend this loaf to be whole wheat. If you want a whole wheat loaf check out my Whole Wheat Dutch Oven Bread recipe!
- Garlic - I prefer using minced garlic or fresh garlic since it gives a more genuine flavor, but a teaspoon of garlic powder can be used instead if it's what you have on hand. If using fresh garlic use one clove per one teaspoon of minced.
- Olives - the olives are optional. You're not a fan, simply omit them!
Variations
- Bold - be a little more generous with your spices and make this Rosemary Garlic Bread stand out. I keep the flavors balanced so the bread works well as a side dish without overpowering the main meal-but if you're in the mood, there's no reason you can't toss in a little extra pepper, rosemary, and garlic.
- Dip it! - after you've made a bold version of the bread try dipping it in avocado oil and balsamic vinegar for a tasty appetizer.
Pair this with my Pesto Caesar Salad for the perfect dinner meal or see this sweet cranberry walnut french toast recipe on my website for a yummy breakfast addition!
Equipment
I like to use a mixer to make this bread. It makes it quick and effortless.
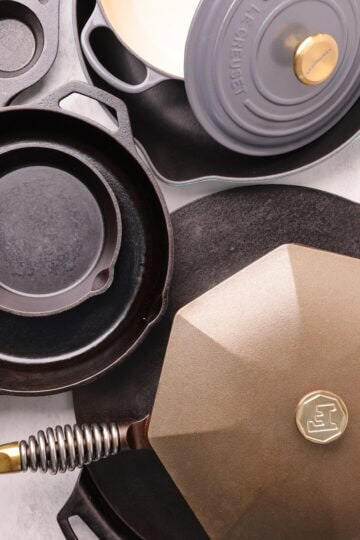
I love to use my enameled, cast iron dutch oven from Le Creuset for this Rosemary Garlic Bread. You can also use a raw cast iron dutch oven but you may need to oil and flour it to ensure that your bread does not stick. The key is to ensure you preheat it otherwise you will not get the artisan crust that is so desirable.
Storage
On the Counter: You can store the Rosemary Garlic Bread in an airtight container or bag on the counter for 3 days. If you won't finish the loaf in that time, I would recommend refrigerating or freezing the remaining bread.
Freezing: Rosemary Garlic Bread freezes well-wrap in plastic, then place in an airtight bag or container. For best results, freeze while fresh. You can freeze the whole loaf or slice it first to take out pieces as needed. To thaw a full loaf, leave it on the counter; crack the bag slightly to release moisture, then reseal after an hour to prevent drying. For individual slices, thaw at room temp or toast straight from the freezer-my go-to method.
Reheating: You can eat leftover Rosemary Garlic Bread at room temp, but it may taste a bit dry. Toasting for a minute or two brings it back to life. To reheat a whole loaf, wrap in foil and warm at 350°F for up to 30 minutes, or until heated through-just don't overdo it or it may dry out.
Top Tip
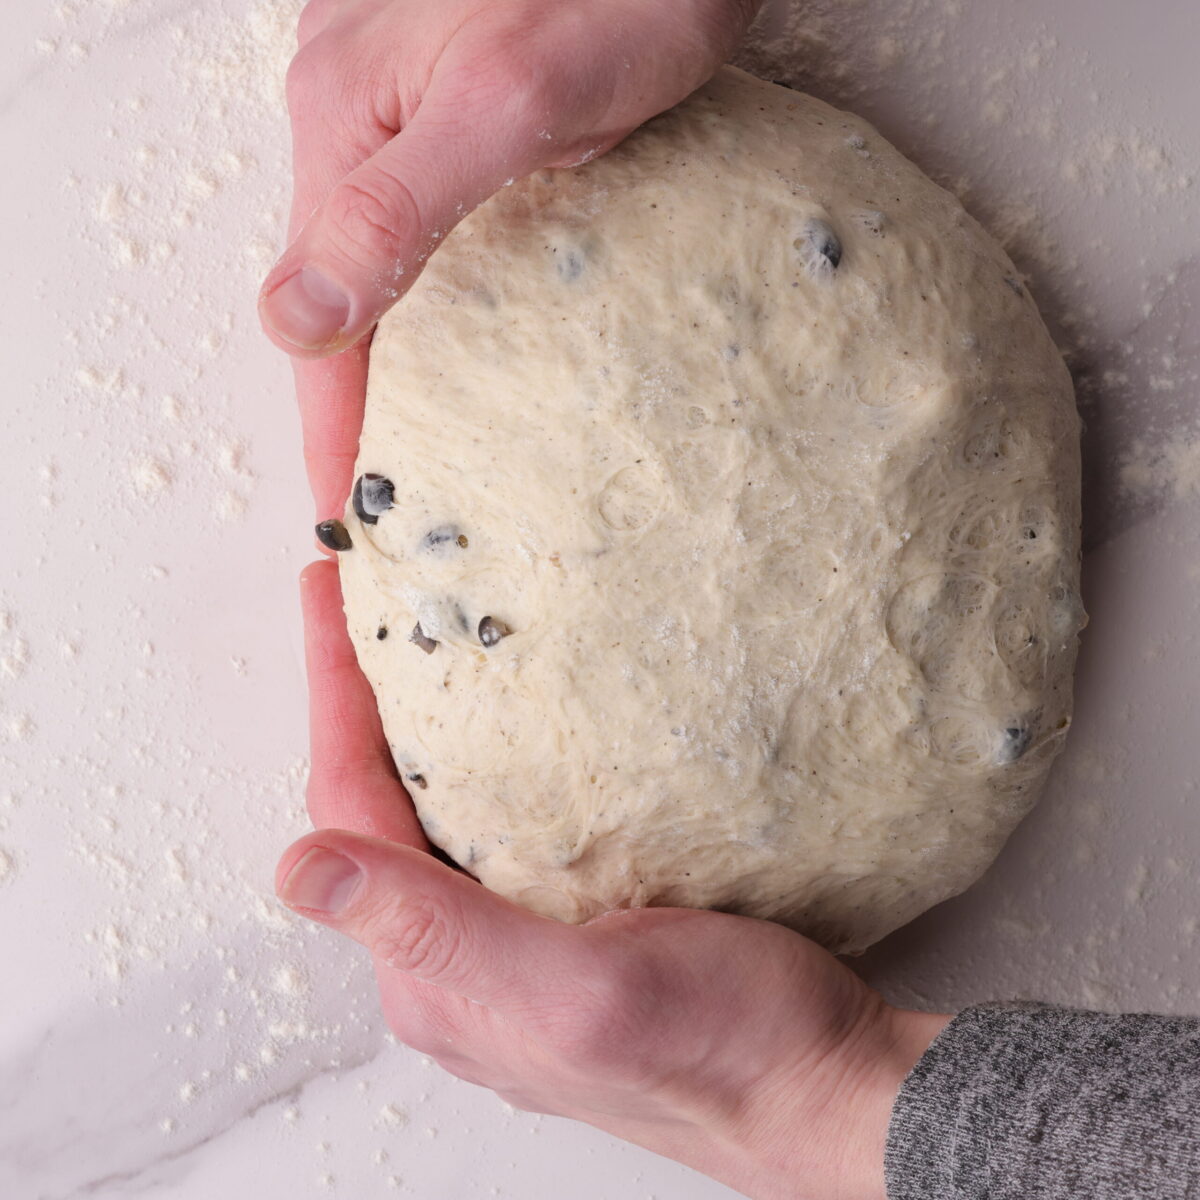
When you remove your dough from its bowl after it doubles in size, don't be afraid to be a little aggressive as you reshape it before placing it in the heated dutch oven. I know it's a little heart breaking to squish down nicely risen dough but I advise you to somewhat firmly reshape this into a nice round loaf. You can create a tight ball of dough by placing the dough on a clean surface. Place your hands on the dough on the side furthest from you and then gently pull the dough towards you (as seen in the picture), allowing it to drag along the surface. Turn the dough 90 degrees and repeat. Continue turning and pulling until a tight ball is formed.
FAQ
You can use a glass or stainless oven safe bowl or even place your formed dough on parchment paper and fold it up around the sides. If doing the latter, place the bread on a cookie sheet. Then place the bread (in bowl or on cookie sheet) on the top rack of the oven. Put a second bowl or cookie sheet on the bottom rack and fill it with water. This will create steam in the oven to create the artisan look.
You can mix this, allow it to rise and then store it in the fridge, covered for a few hours but this will affect the rise and "fluffiness" of your loaf. You'll have a slightly more dense loaf as a result. Because of this, I recommend baking it as soon as it is done rising.
Yes. You can either knead it by hand for a couple of minutes or allow it to mix in your mixer with a dough hook for a couple of minutes. I prefer the second method as it is easier. However, very little to no kneading is required for this recipe as long as your ingredients are mixed together well in the mixer.
Related
Looking for other recipes like this? Try these:


Most Recent
Try these new Alaskan Skillet favorites!
Print


Rosemary Garlic Bread
- Total Time: 1 hour 20 minutes
- Yield: 1 loaf 1x
Description
I love this recipe because it is so quick to make but it is so delicious and full of flavors that no one will believe that you whipped it up in an effortless two hours, most of which is passive time. This no knead loaf is fragrant, aromatic and full of savory flavors. It's crisp exterior and soft interior make it irresistible. Bread couldn't be made more easily with a more perfect outcome.
Ingredients
2 cups (475ml) water
2 tablespoons (30g) granulated sugar
2 tablespoons (20g) traditional yeast
1 ½ tablespoons (25-28g) and some juice minced garlic
5-6 cups (745-800g) all purpose flour
1 ½ tablespoons salt
2 teaspoons dried rosemary
1 teaspoon black pepper
1 cup (145g) chopped/sliced black olives (optional)
Instructions
- Warm water in a large bowl or glass measuring cup. You want it to be slightly warmer than lukewarm but not hot. You should be able to comfortably put your finger in the water and feel a slight bit of warmth to it. Add your sugar and yeast and gently stir in. Set aside and allow bubbles to form. You'll know it's activated enough when you have about equal parts liquid and bubbles. How long this takes will depend on the warmth of your kitchen but generally it takes about 10 minutes.
- In your mixer bowl combine 3 cups of flour, the salt, pepper, rosemary and olives.
- When your yeast is fully activated add the minced garlic to it and then immediately pour into the flour mixture. This will help the garlic to mix into the dough more evenly.
- Begin to mix on low speed. Use a spatula or spoon to help it mix together as needed. Slowly add in the remaining flour until a soft dough forms. You'll know this is achieved by touch but also when the dough comes together and is no longer sticking to the mixing bowl. You may need a little more than 5 cups and that is fine. Allow it to mix for an additional 5 minutes.
- Remove the dough from the bowl and form into a ball. Place in a lightly oiled bowl and cover with a towel and set in a warm place to rise. Let the dough rise for 30-60 minutes or until doubled in size.
- Preheat oven to 400 degrees Fahrenheit and place your dutch oven (including the lid*) inside to heat up as the oven preheats.
- Once the dough has finished rising, remove the dutch oven (with gloves, it'll be hot) and lightly flour the bottom. Remove the dough from the bowl, shape into a ball* and place it in the dutch oven. Lightly flour the top and use a knife to make three shallow slices along the top to give it that artisan look.
- Cover with the lid and place in the oven to bake for 30 minutes. Then, remove the lid and bake for an additional 5-7 minutes or until a light golden brown. Remove from the oven and place on a cooling rack.
- Allow to cool for 15 minutes before slicing.
*All nutritional information is an estimation only. Exact nutritional value depends on exact amounts and ingredients used.
Notes
1. Ensure you lid and the handle of the lid are oven safe before placing it in the oven.
2. You can create a tight ball of dough by placing the dough on a clean surface. Place your hands on the dough on the side furthest from you and then gently pull the dough towards you, allowing it to drag along the surface. Turn the dough 90 degrees and repeat. Continue turning and pulling until a tight ball is formed.
- Prep Time: 15 minutes
- Rest Time: 30 minutes
- Cook Time: 30-35 minutes
- Category: Bread
- Method: Bake
- Cuisine: American
Jenice Wallace says
This is such an easy loaf to put together but looks and tastes like an artisan loaf! People always rave about how good it tastes and it always turns out! It's the perfect side dish for a casual family dinner or a holiday spread!