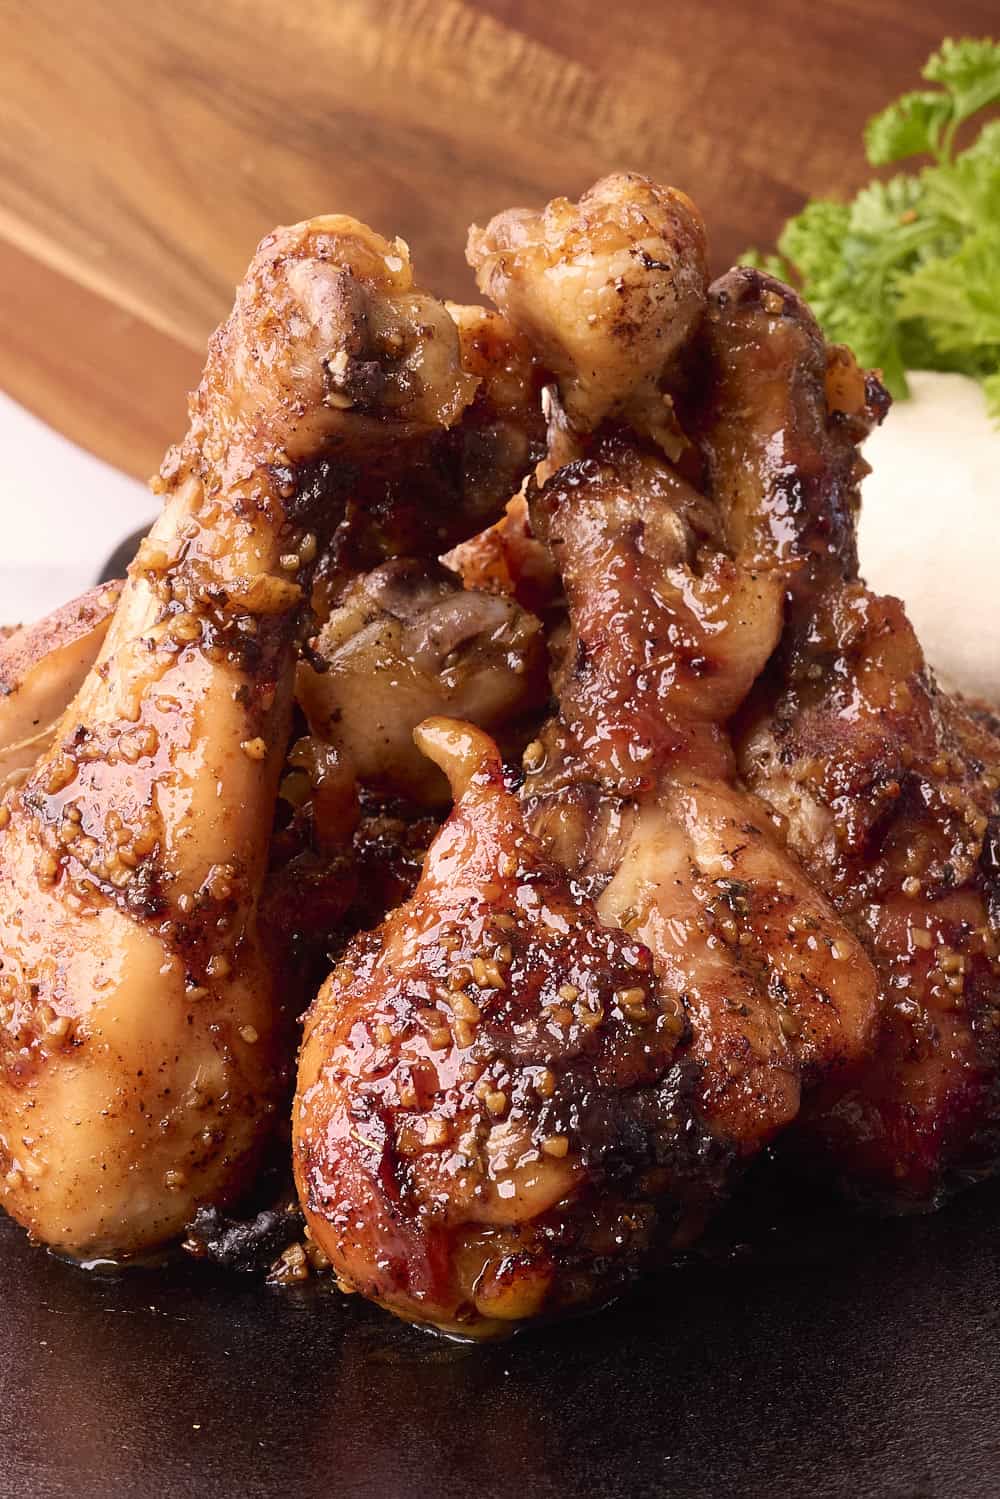
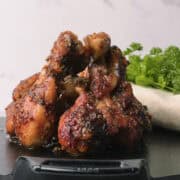
These Sticky Chicken Drumsticks are coated in a sweet and spicy glaze made with honey, sriracha and garlic. As they bake, the sauce thickens and clings to the drumsticks while the meat turns tender and juicy, nearly falling off the bone. Easy to season ahead and simple to finish in the oven, they deliver bold flavor with surprisingly little effort.
Why I Love This
- More than Sweet and Spicy: These are more than just honey garlic drumsticks. The sweetness of the honey hits your palate first, followed by a burst of flavor from the blend of spices, all finished with a gentle kick of heat. It's a truly balanced and irresistible flavor profile.
- Simple Preparation: There really isn't that much work that goes into these Sticky Chicken Drumsticks and they come together flawlessly every time. I'm always amazed when I open the oven and see them perfectly browned, glossy and tender. It's like magic.
- Crowd Perfection: Drumsticks are a very affordable cut of meat and there is little extra work in preparing a larger batch of these. They're perfect for large gatherings and game day parties.
Need another simple and delicious meal? Try my Skillet Meatloaf or Moose Burgers. For the perfect game day try adding our Baked Beans with Hamburger and Bacon to your spread. They're perfect for making ahead and freezing.
Jump to:
Ingredients
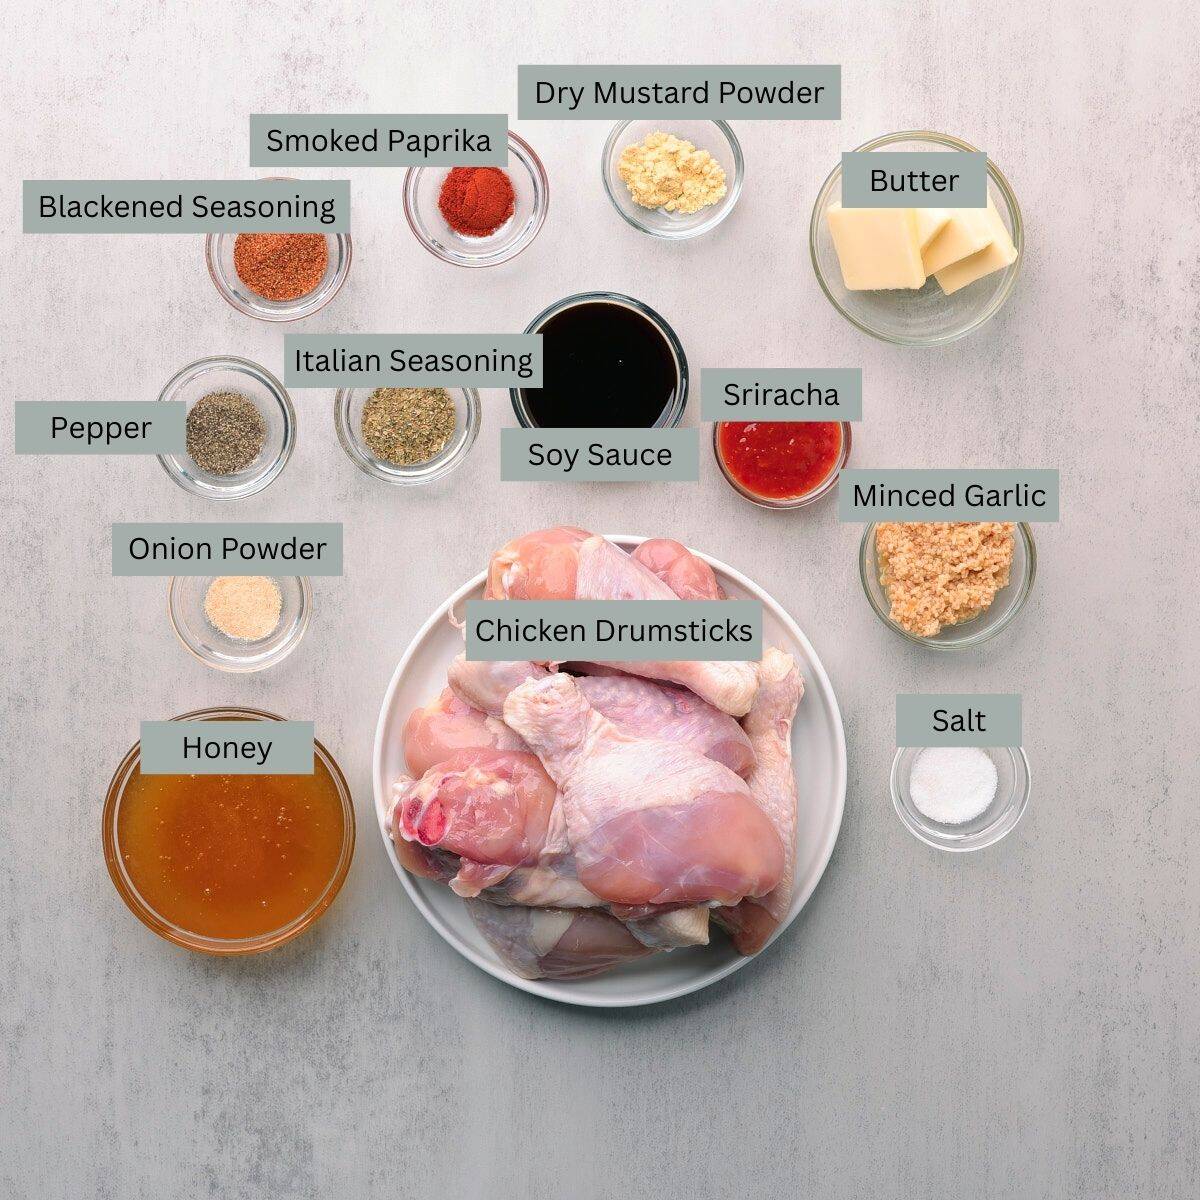
- Blackened Seasoning - you can make your own or throw together this simple recipe in the link.
- Italian Seasoning - this might be a surprising addition to the spicy mix but it really compliments the other spices well, grounding the flavors so they can all shine.
- Smoked Paprika - there is already some paprika in the blackened seasoning but it's just so good! A little extra gives these Sticky Chicken Drumsticks that amazing smoky taste.
- Butter - this combines with the honey to give that ultimate sticky coating we love.
- Minced Garlic - using garlic cloves works well too (use 1 clove for every 1 teaspoon minced). I just love the convenience of keeping minced garlic on hand.
- Honey - the star of the show... along with all the amazing spices!
- Soy Sauce - you can also use coconut aminos. I actually prefer it.
- Sriracha - this is primarily what gives that wonderfully subtle kick at the end of every bite.
- Dry Mustard Powder - another surprising addition to the mix but truly adds just the right tang to the mix.
See recipe card for quantities.
Instructions
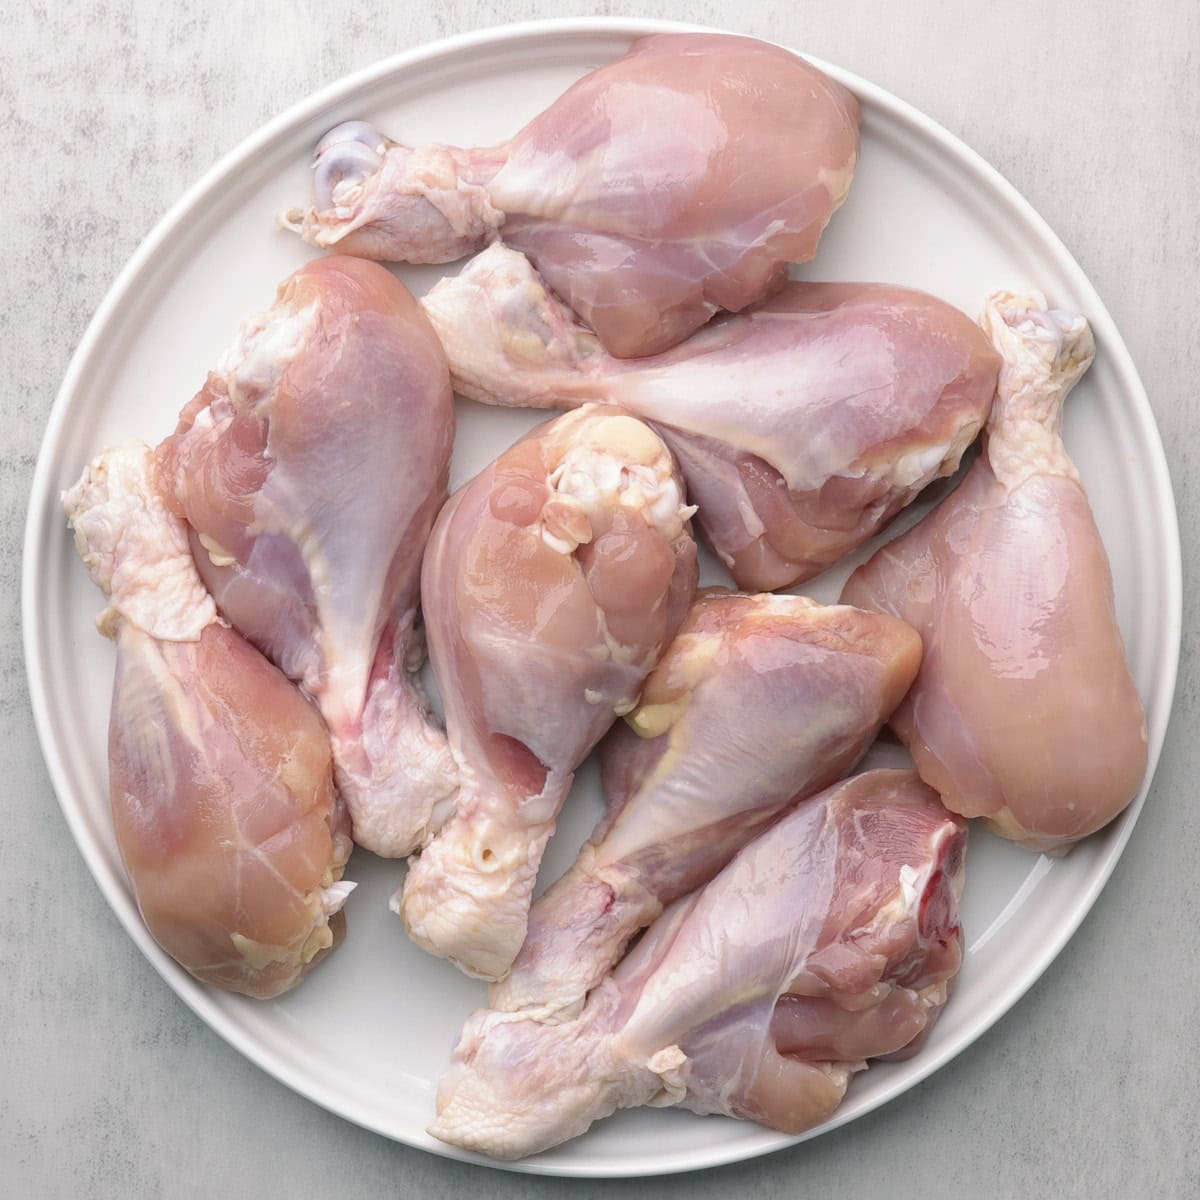
Step 1: (Optional) Remove the skin by pulling it back and slicing around the neck. This helps the flavors soak in.
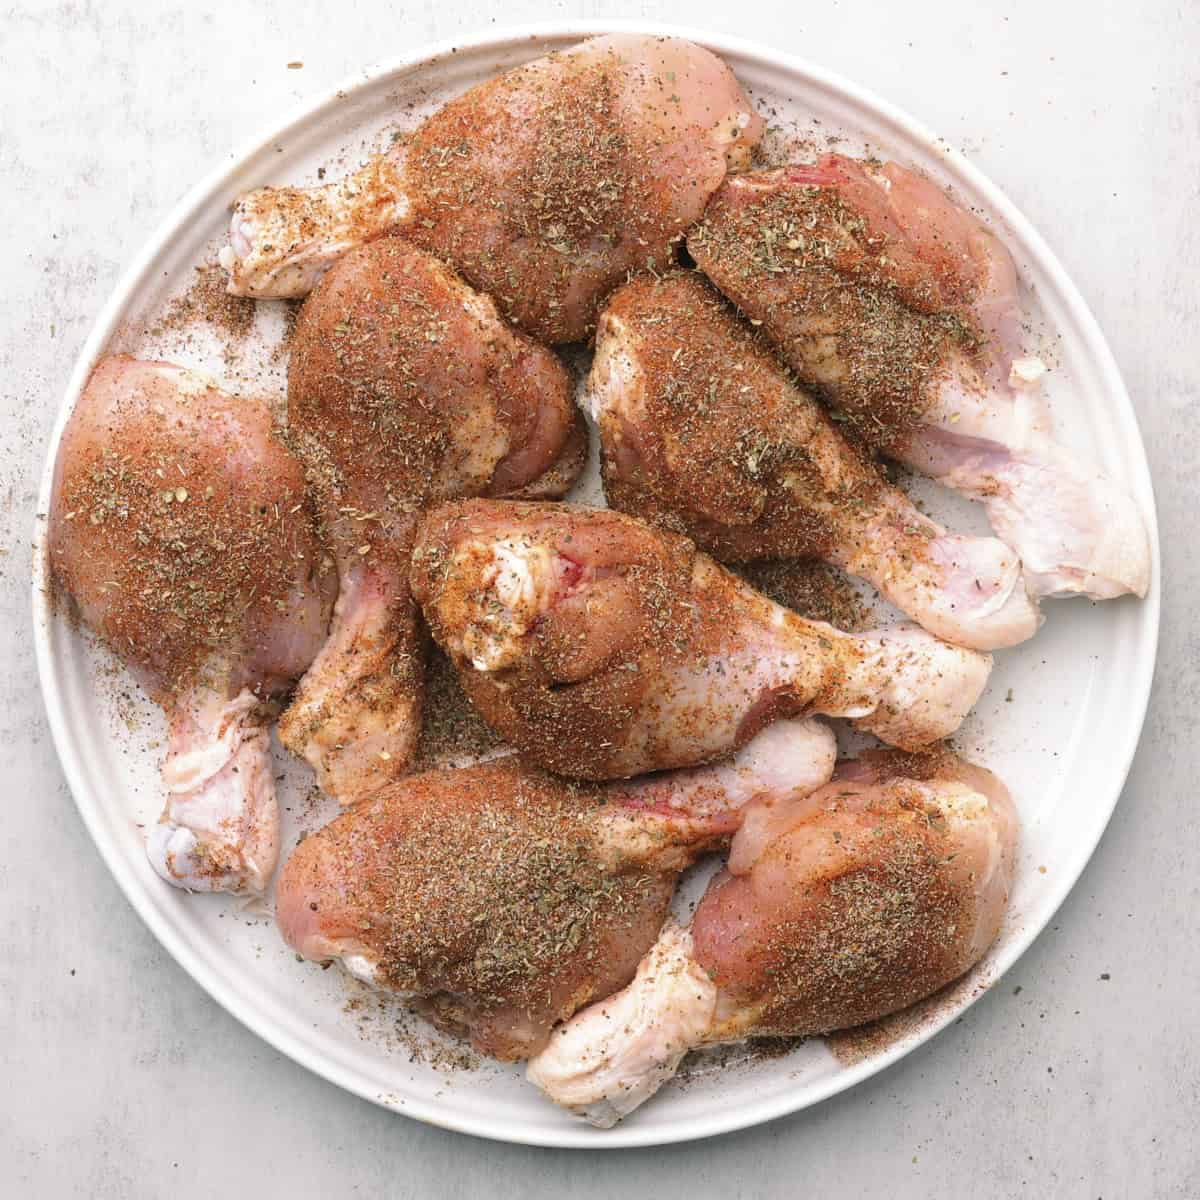
Step 2: Mix the spices in a small bowl. Rub evenly over all sides of the drumsticks. For extra flavor, refrigerate in a sealed bag or container for up to 24 hours.
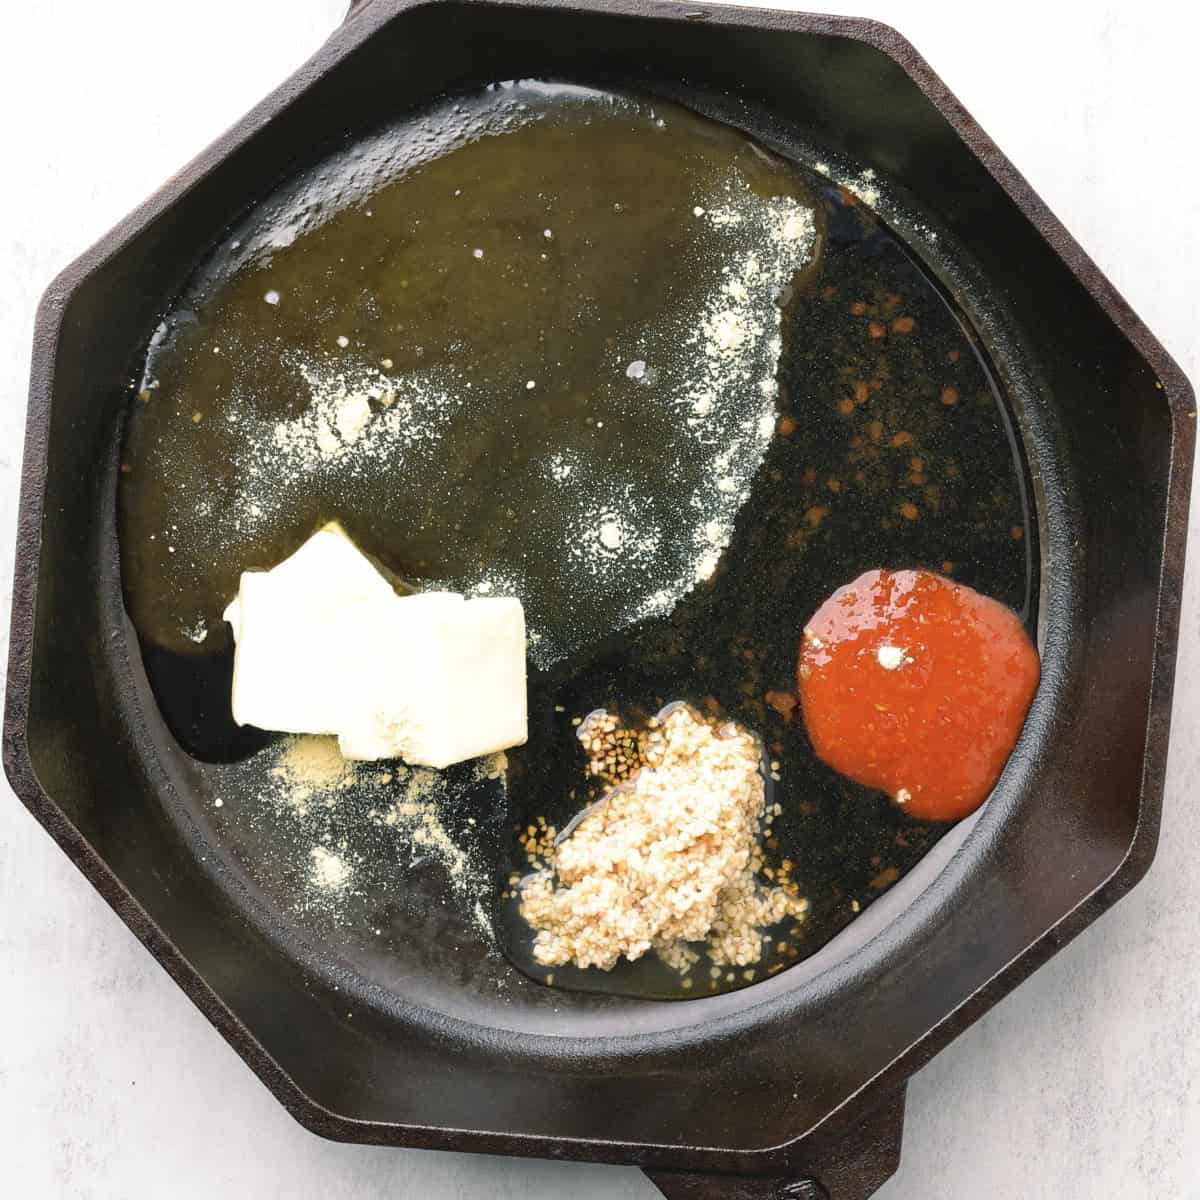
Step 3: Preheat the oven to 400°F. In a skillet over medium heat, combine the sauce ingredients and stir until smooth. Turn off the heat.
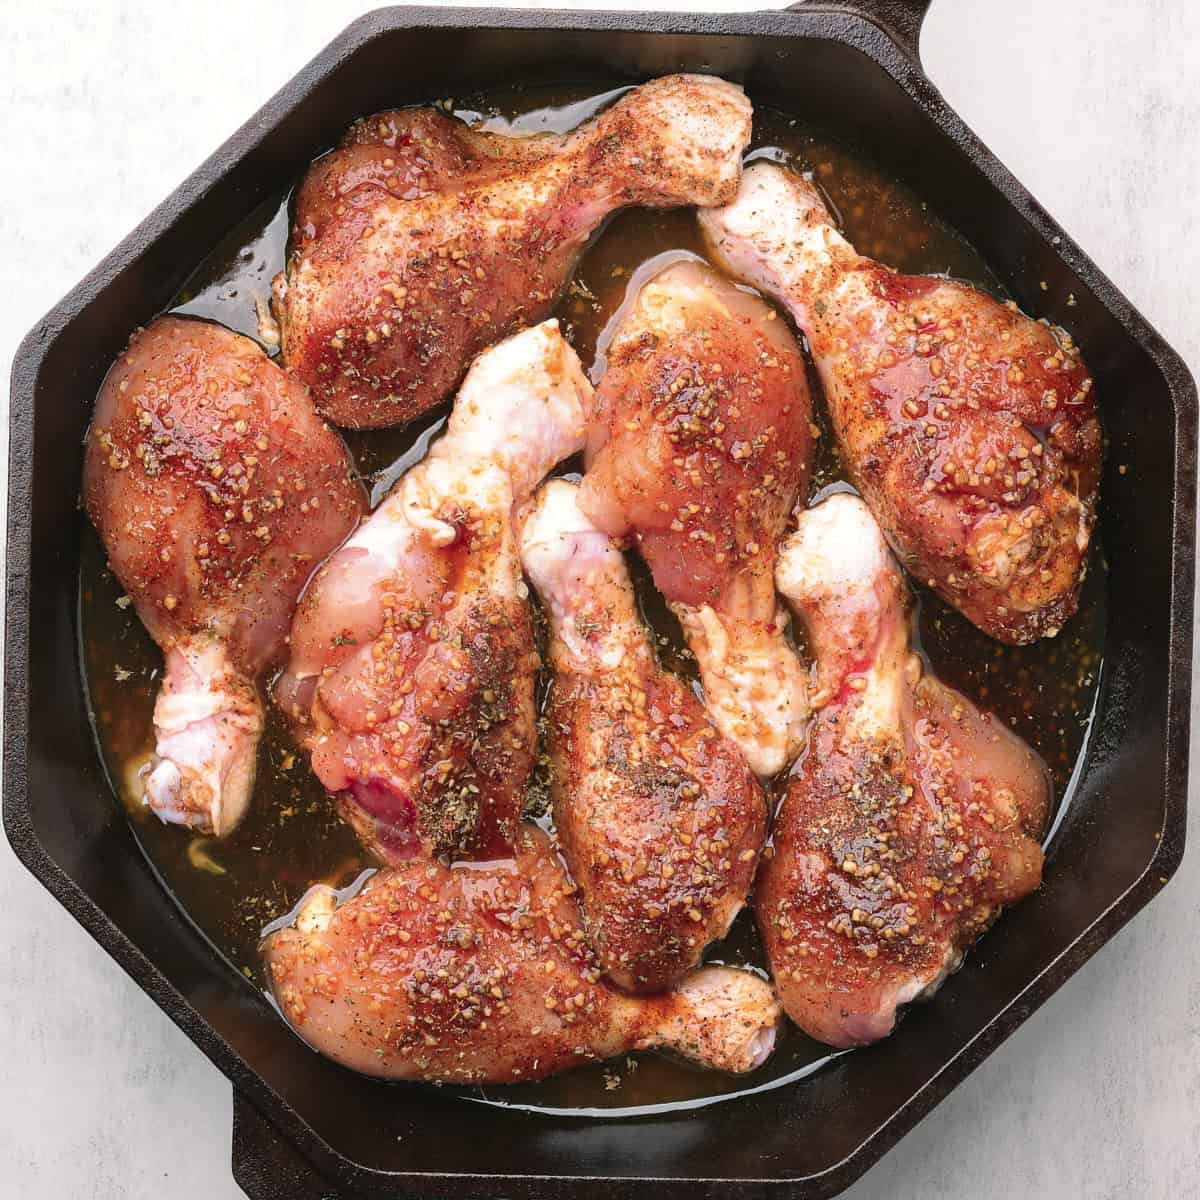
Step 4: Place drumsticks in the skillet (they can touch but don't stack). Spoon sauce over them to coat.
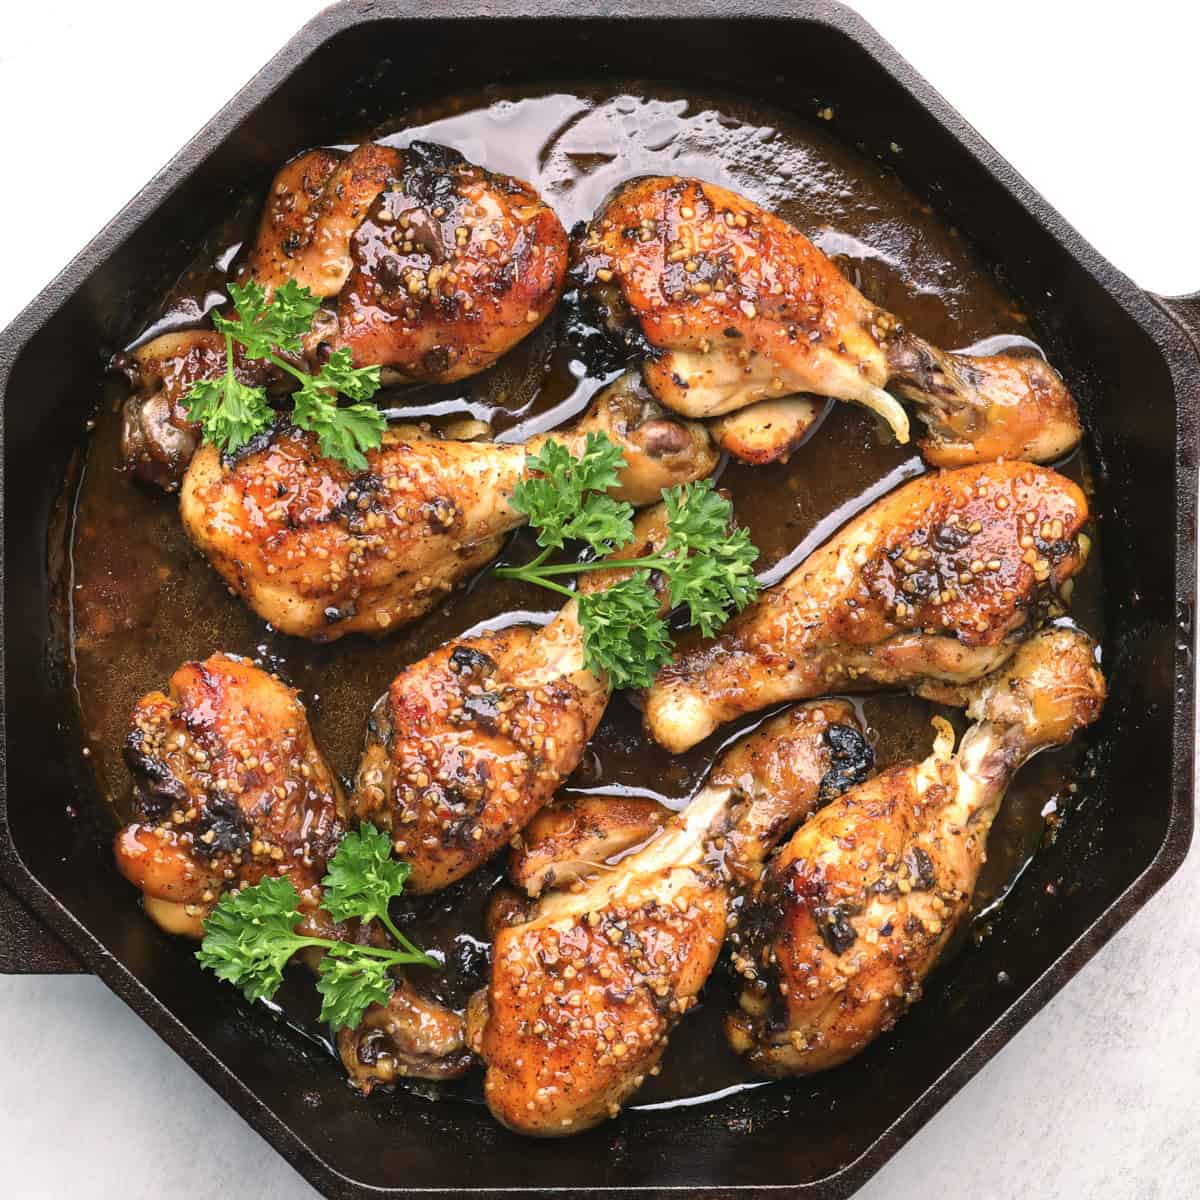
Step 5: Bake 35-45 minutes, flipping and basting at 20 minutes. Drumsticks are done at an internal temperature of 165°F, but 175°F gives extra tenderness.
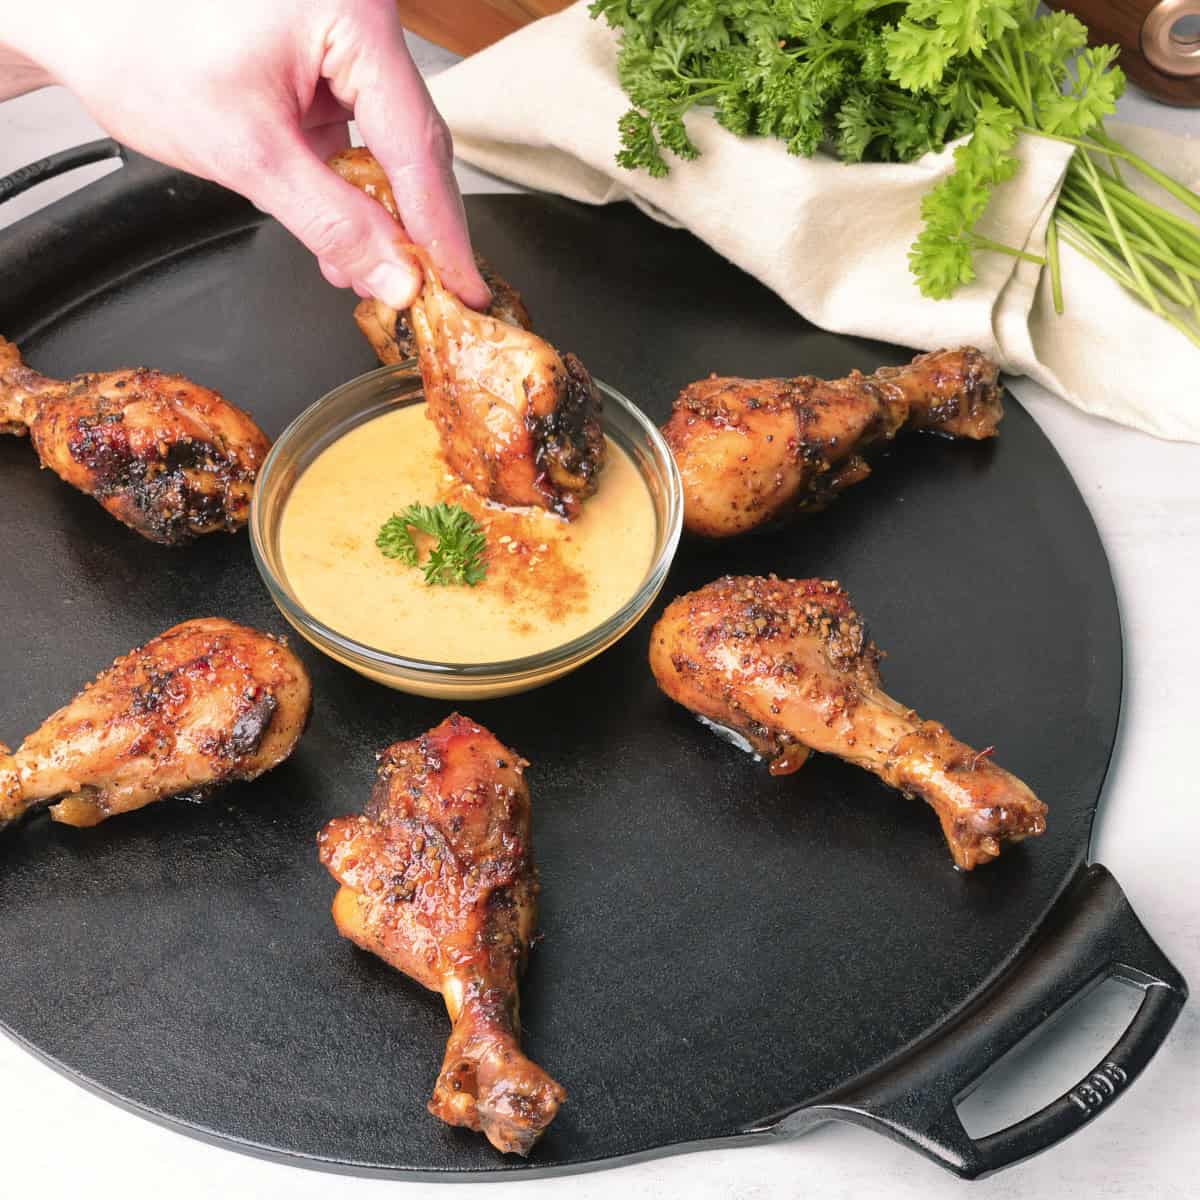
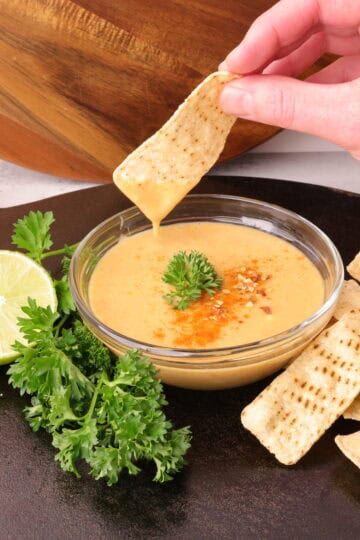
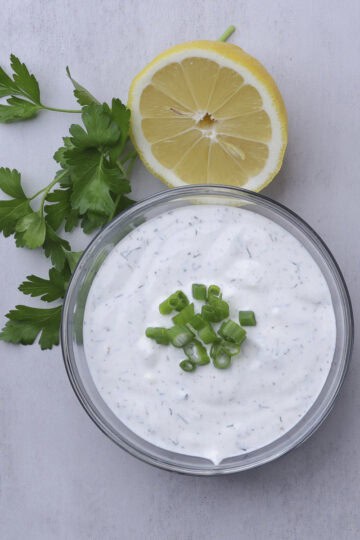
Step 6: Baste one last time and serve hot with my honey mustard sauce and herb rice.
Hint: Feel free to baste the drumsticks multiple times while they cook. This helps to keep the meat hydrated and further distributes the flavors.
Substitutions
- Gluten Free - you can use a wheat free soy or coconut aminos. This is what I typically use.
- Dairy Free - a plant based butter or ghee (if suitable) will work wonderfully without hardly a notice.
- Sugar Variations - brown sugar (the most similar), maple syrup, agave nectar or even molasses with a little sugar can all be used in place of the honey.
Variations
- Spicy - add chili pepper flakes into the sauce in the skillet for an extra kick.
- Less Spice - you can omit the blackened seasoning and use sweet chili sauce instead of sriracha in the sauce.
- Meat Options - this recipe is also great for chicken thighs and chicken wings (leave the skin on).
Check out my Blackened Halibut Tacos for more great finger foods or my Blackened Salmon Alfredo for a cozier meal that still has bold flavor.
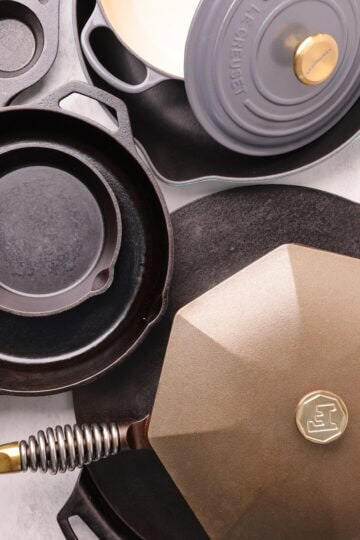
Equipment
Baking these in a cast iron skillet or a cast iron pot/pan of some kind because it retains heat well which bakes the drumsticks more evenly and also finishes them off with the delightful caramel-like, crisp edge. However, if this is not an available option, you can always bake them in a glass or ceramic baking dish. Line it with parchment paper for easier clean up and adjust the cooking time accordingly.
Storage
The first few days: Store these Sticky Chicken Drumsticks in an airtight container or bag in the refrigerator for up to 3 days.
Freezing: While you can freeze these after baking them, I don't really recommend it. They just never thaw out quite the same (it will be a little watery and dry). However, if you do, a great way to use the meat once thawed (always follow USDA recommendations for thawing meats) is to pull it off the bone and heat it up in the skillet with a little extra sauce (butter, honey, sriracha).
Reheating: The best way to reheat these is in the microwave on a microwave safe dish. If you choose to reheat them in the oven be sure to cover them with foil so they don't dry out (as much).
Top Tip
While chicken is cooked at an internal temperature of 165°F, these Sticky Chicken Drumsticks get really tender and start to fall off the bone around 180°F.
FAQ
Yes, in part. You can season the drumsticks and refrigerate them for up to 24 hours (which is preferred anyways). You can also prepare the sauce ahead of time and store it in the refrigerator until you're ready to use it.
They have the slightest bit of kick in the seasoning and sauce but it is very easy to adjust it to your liking - both up or down. See my "Variations" section above for recommendations.
For a thicker, stickier glaze, spoon or brush the sauce over the drumsticks during the last few minutes of the baking. The heat helps the sauce caramelize and cling to the chicken.
Related
Looking for other recipes like this? Try these:
Most Recent
Try these new Alaskan Skillet favorites!
Print

Sticky Chicken Drumsticks
- Total Time: 40-50 minutes
- Yield: 8-10 drumsticks 1x
Description
These Sticky Chicken Drumsticks are coated in a sweet and spicy glaze made with honey, sriracha and garlic. As they bake, the sauce thickens and clings to the drumsticks while the meat turns tender and juicy, nearly falling off the bone. Easy to season ahead and simple to finish in the oven, they deliver bold flavor with surprisingly little effort.
Ingredients
2 ½ pounds chicken drumsticks
For the Seasoning:
1 teaspoon blackened seasoning
1 teaspoon Italian seasoning
½ teaspoon salt
½ teaspoon pepper
½ teaspoon smoked paprika
¼ teaspoon onion powder
For the Sauce:
4 tablespoons butter
½ cup (165 grams) honey
6 teaspoons (40 grams) minced garlic or 6 small cloves
2 tablespoons (40 grams) soy sauce*
1 tablespoon (18 grams) sriracha
1 teaspoon dry mustard powder
Instructions
- (Optional) Remove the skin by pulling it back and slicing around the neck. This helps the flavors soak in.
- Mix the spices in a small bowl. Rub evenly over all sides of the drumsticks. For extra flavor, refrigerate in a sealed bag or container for up to 24 hours.
- Preheat the oven to 400°F. In a skillet over medium heat, combine the sauce ingredients and stir until smooth. Turn off the heat.
- Place drumsticks in the skillet (they can touch but don't stack). Spoon sauce over them to coat.
- Bake 35-45 minutes, flipping and basting at 20 minutes. Drumsticks are done at an internal temperature of 165°F, but 175°F gives extra tenderness.
- Baste one last time and serve hot with my honey mustard sauce and herb rice.
*All nutritional information is an estimation only. Exact nutritional value depends on exact amounts and ingredients used.
Notes
I like to use coconut aminos in place of soy sauce.
- Prep Time: 5 minutes
- Cook Time: 35-45 minutes
- Category: Dinner
- Method: Baking
- Cuisine: American


Jess says
WOW…. These drumsticks are amazing! Sauce is perfect sweet w/a touch of spice, mouth watering flavor. Yum Yum
If you are reading this review make these drumsticks, hands down delicious!!
Kristine Vanden Brink says
Made these yesterday and they were delicious! I left the skin on and it worked well. Even my husband who does not like chicken was devouring them.
Jenice Wallace says
This is a new family favorite! They come together so quickly and I'm always amazed when I pull them out of the oven how they have magically caramelized. They are just so tasty!